Week 12 - Overview
Here’s a structured summary of the Molding and Casting chapter:
- Molding Techniques:
• Injection Molding
• Vacuum Molding
• Slip Casting
- Materials Used:
• Low-temperature Wax
• Machineable Wax
• Various Resins
- Safety Practices:
• Proper handling and safety measures for different materials
- Additives:
• Enhancers for material properties
- Post-Processing Techniques:
• Curing
• Demolding
we need to complete two projects: a team assignment and an individual assignment.
- Review the safety data sheets for each of your molding and casting materials,
then make and compare test casts with each of them
- Compare printing vs machining molds
- Design a mold around the process you'll be using,
produce it with a smooth surface finish,
and use it to cast parts
- Extra credit: use more than two mold parts
Reference Links
Week12 Molding and Casting Guide for my Fab Academy Journey.My personal assignment
Mold Design Based on Wheel of week5
Softeware & Machine instructions
Software:Shapr3D:
I used Shapr3D to design the parametric construction kit.
Shapr3D is a software that allows users to create 3D models and animations using a drag-and-drop interface.
It is available for Windows, Mac, and Linux operating systems.
I downloaded the software from the iTunes store and installed it on my iPad.
It very easy to use and has a lot of features, including a 3D model editor, a path editor, and a rendering engine.
I just use my apple pencil to draw the designs and export them as DXF files.

Here is the link to the software's Introduction page: Shapr3D Introduction
The printer is a small and cheap 3D printer that can be used for prototyping and small-scale 3D printing.
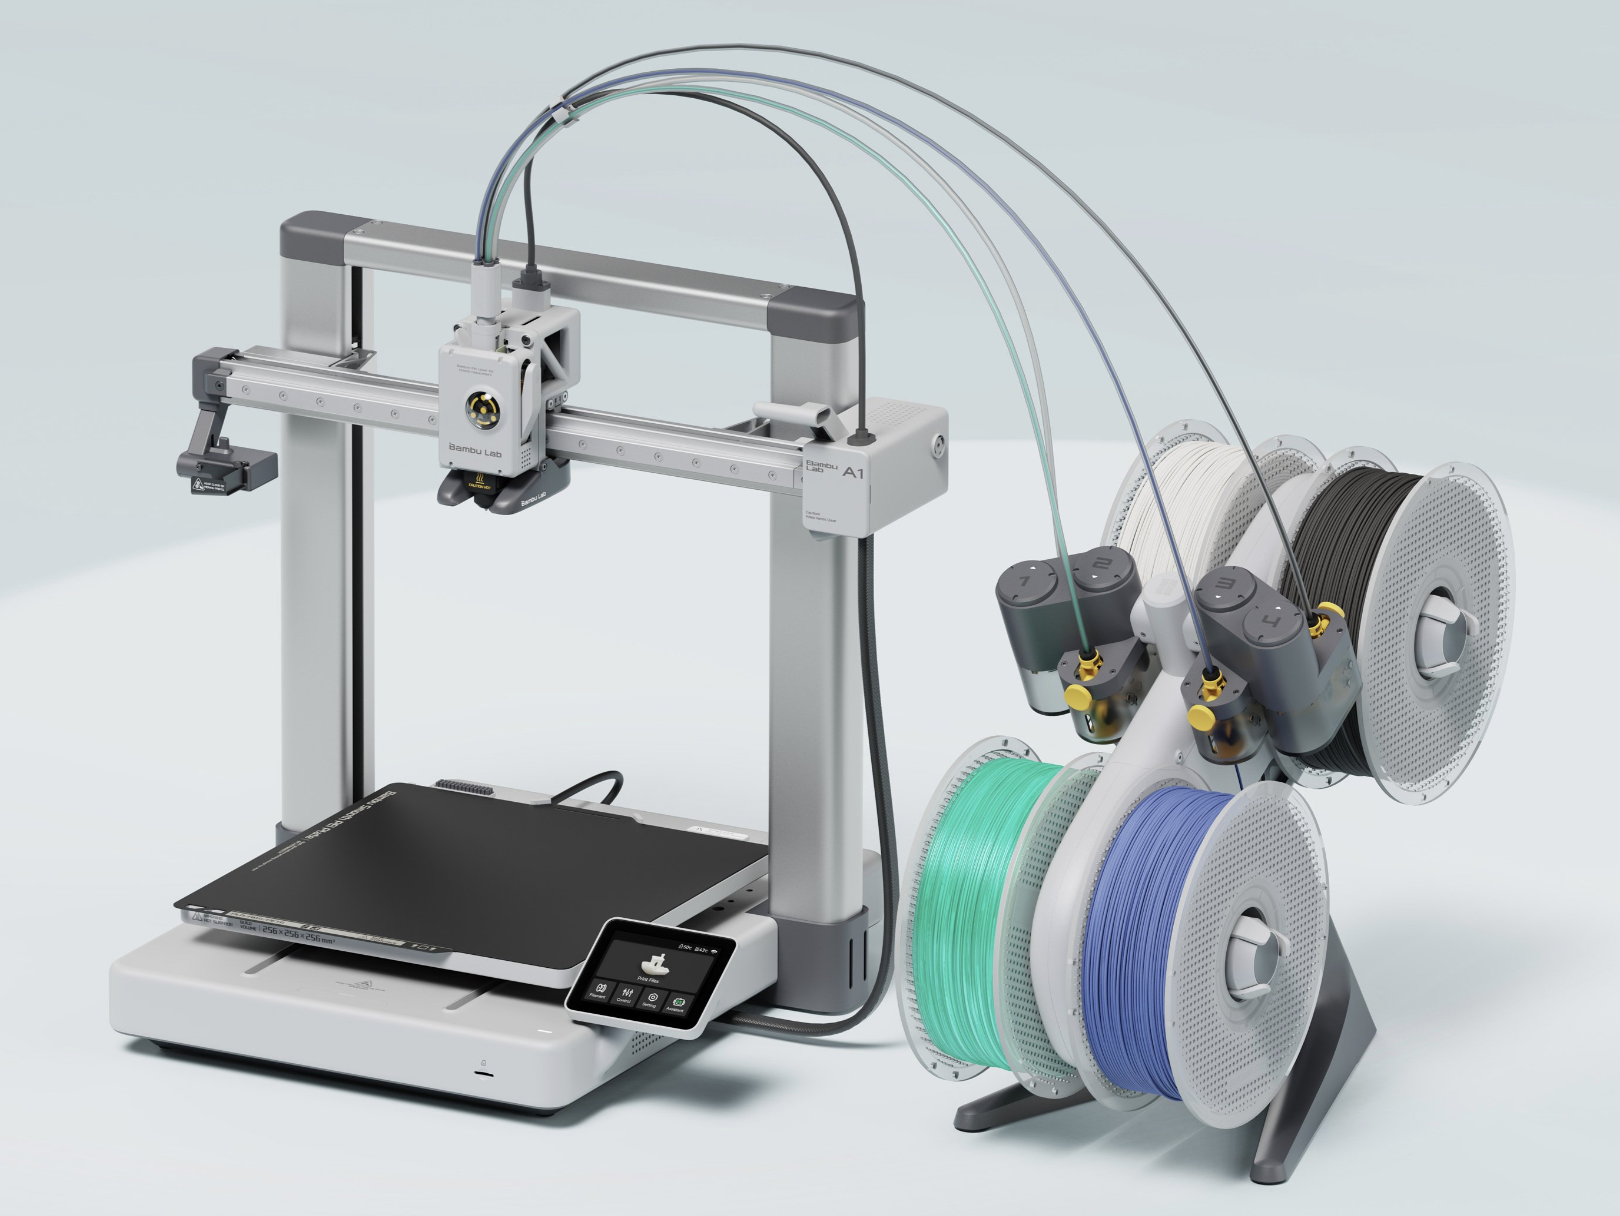
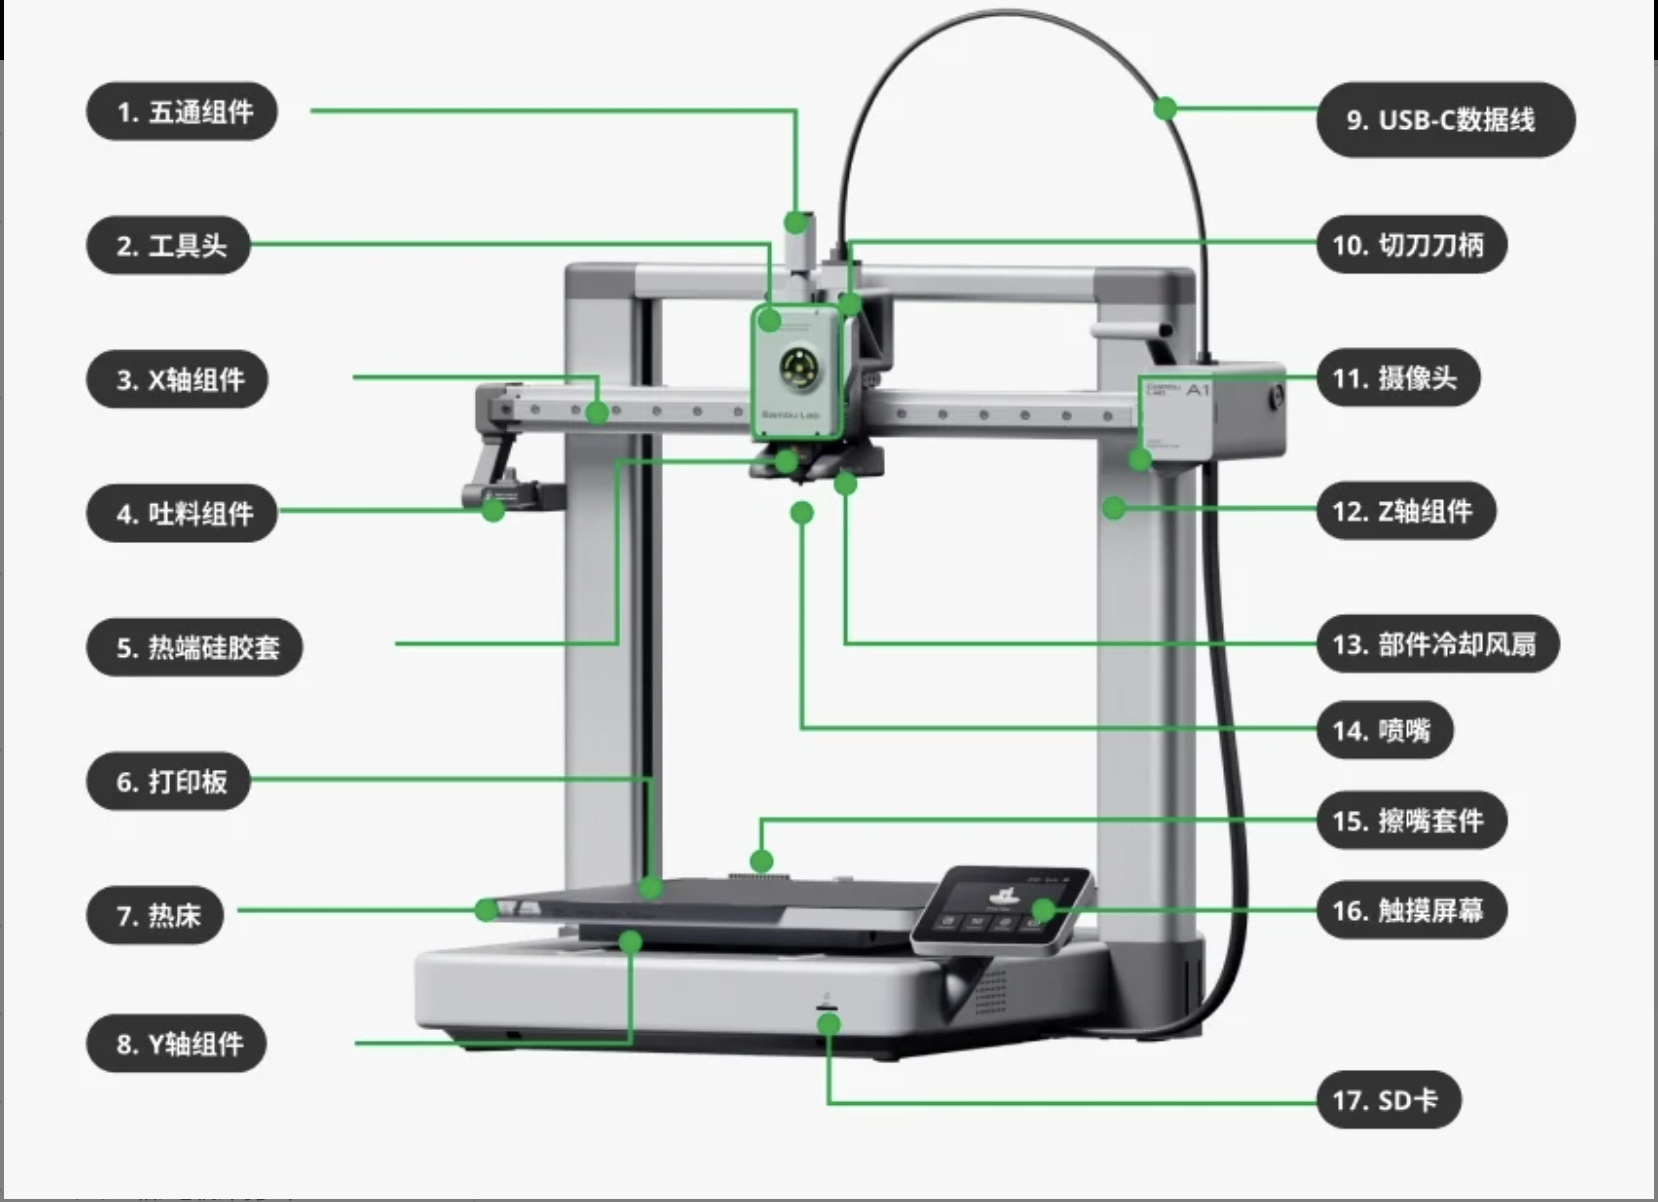
The Manual of Tuozhu A1
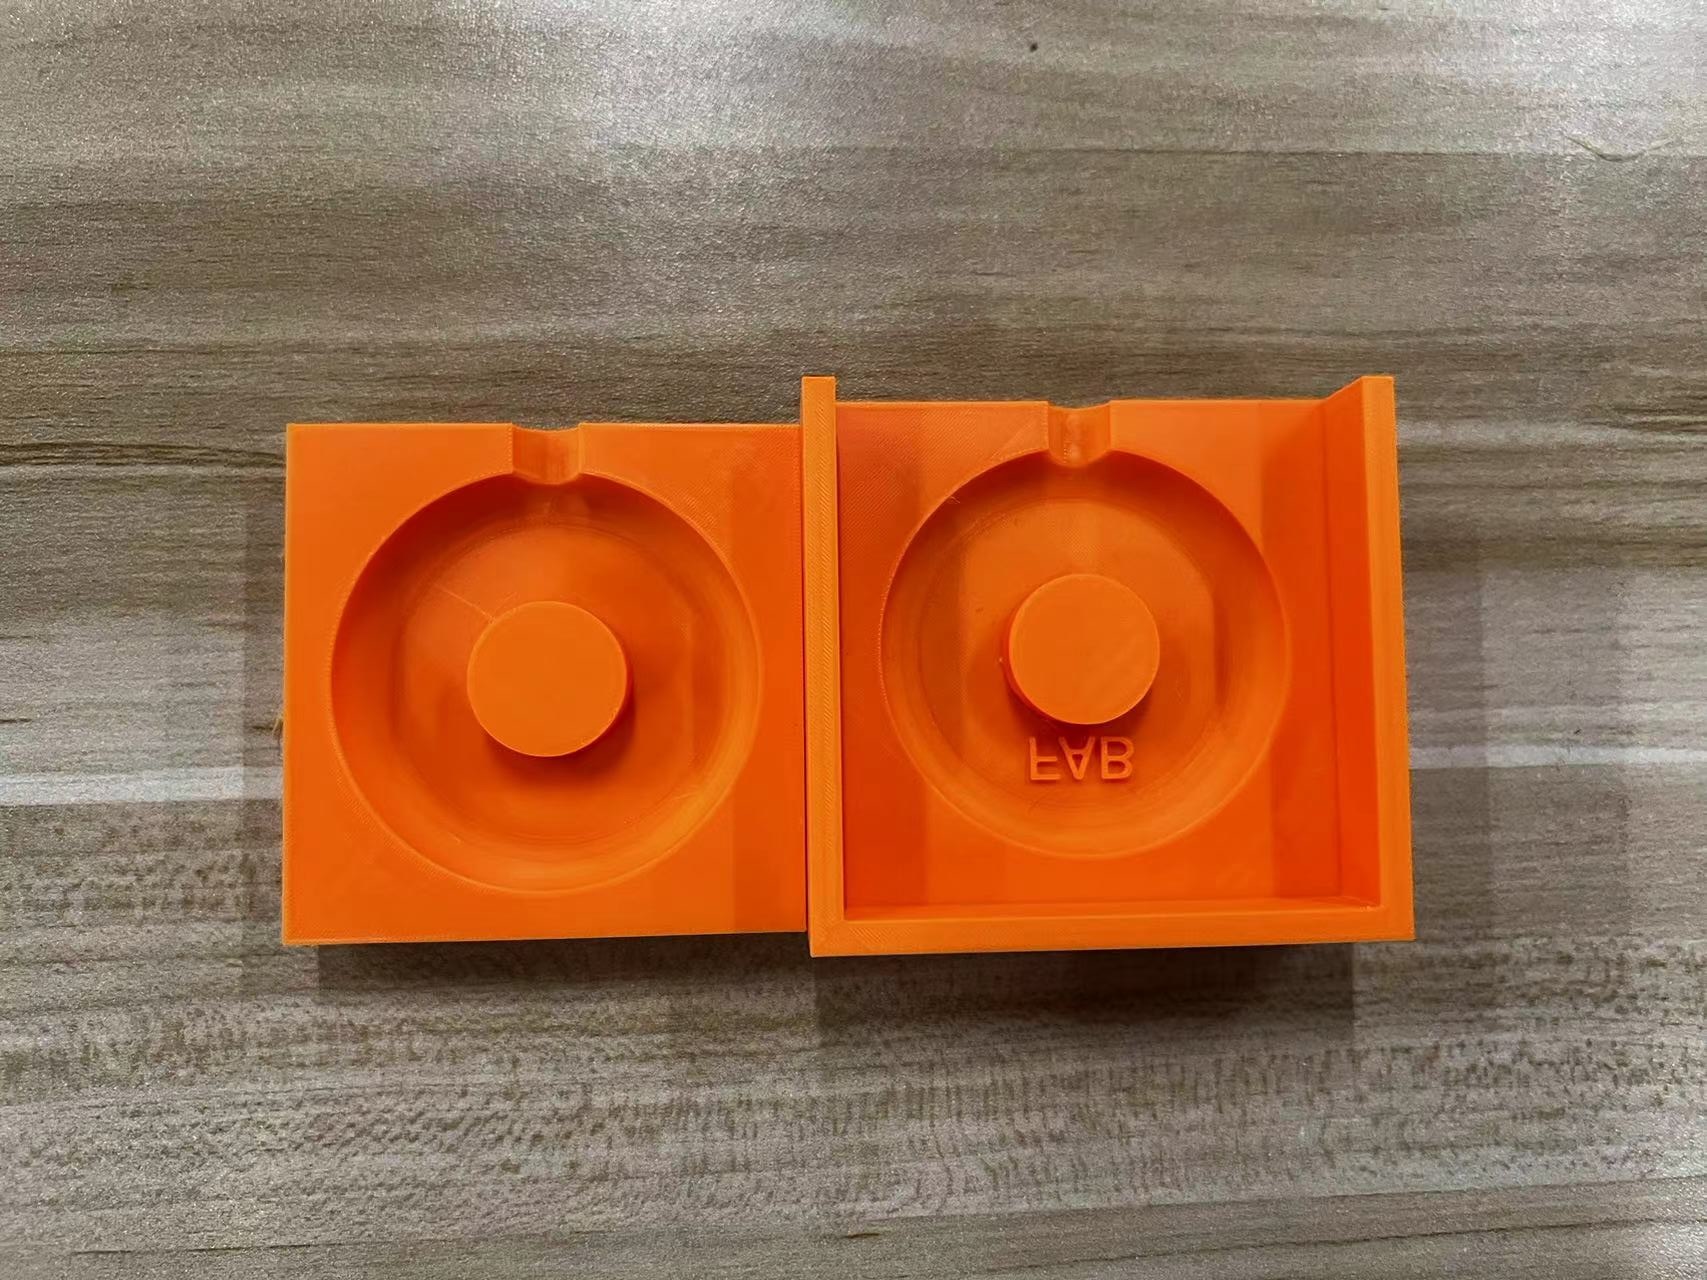
3D Design of Mold
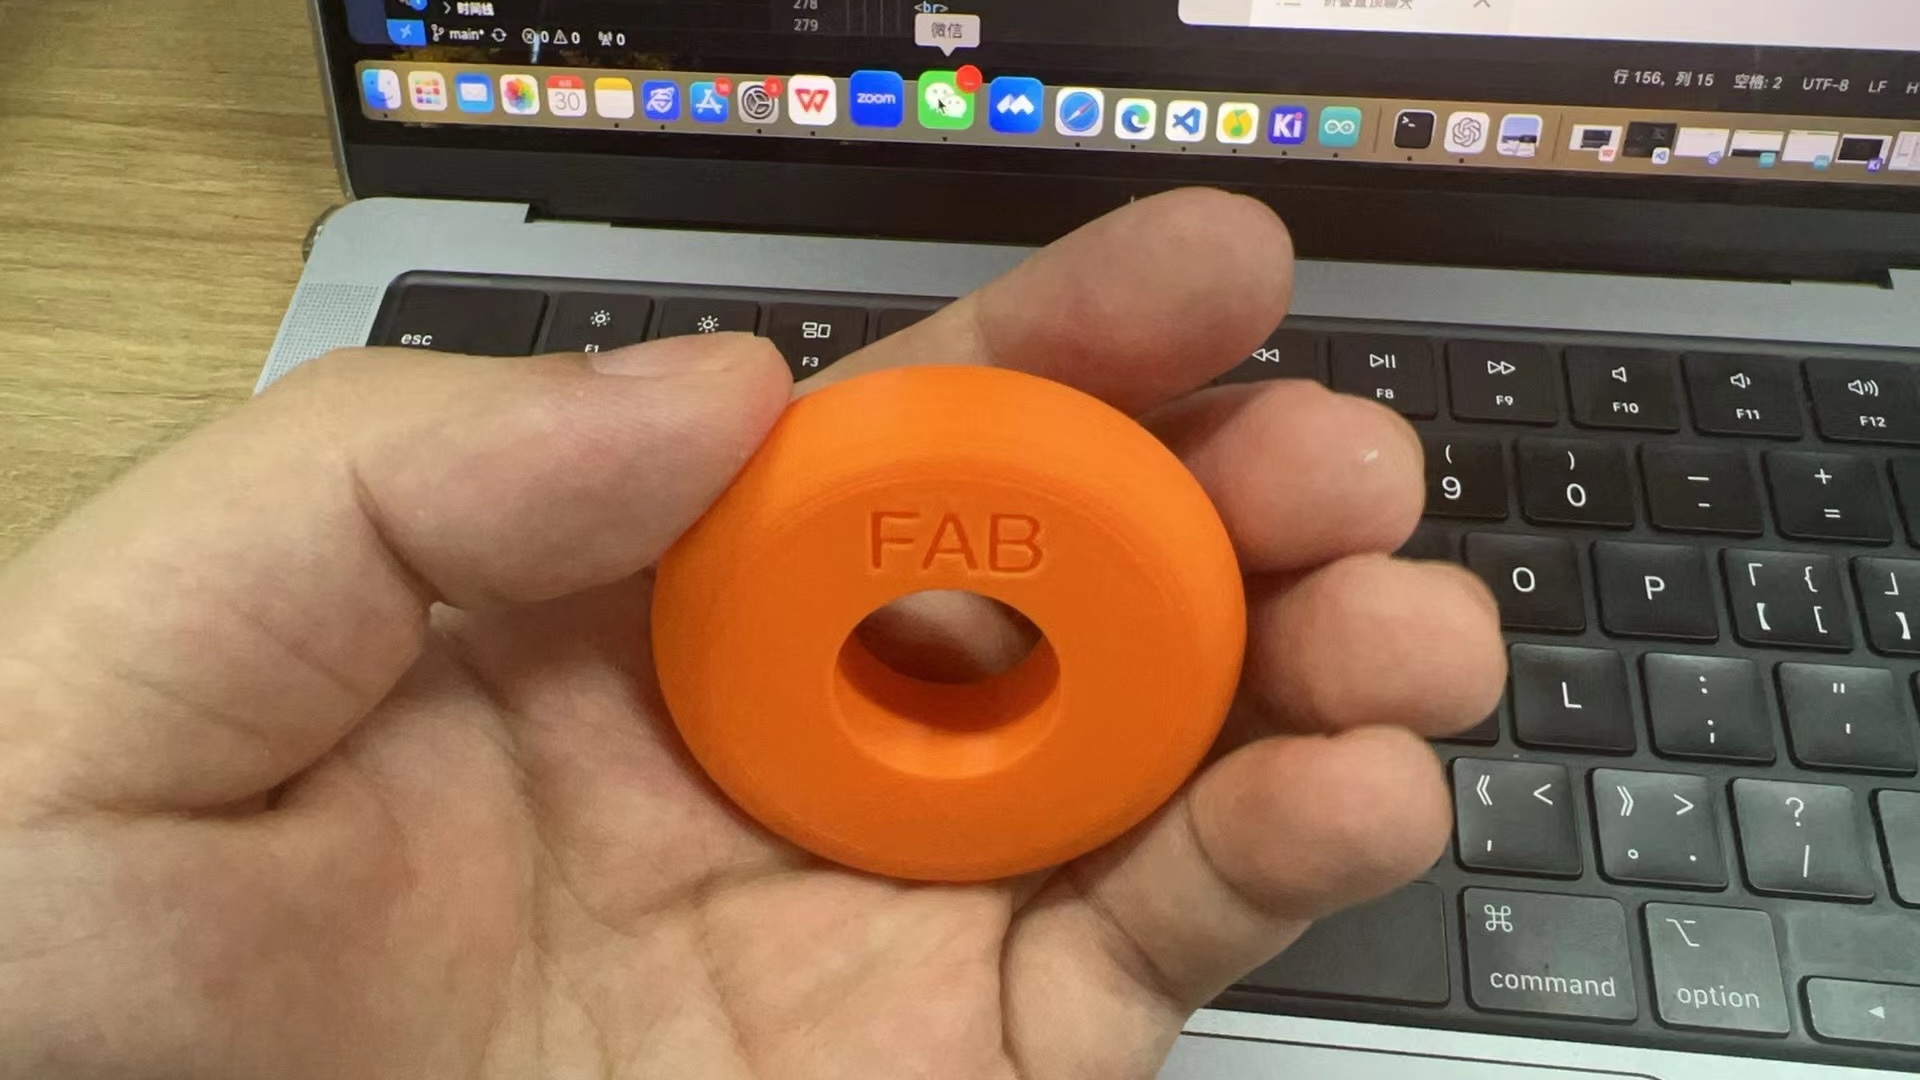
Previously, I made a wheel, so I used this wheel as a prototype to design the mold.
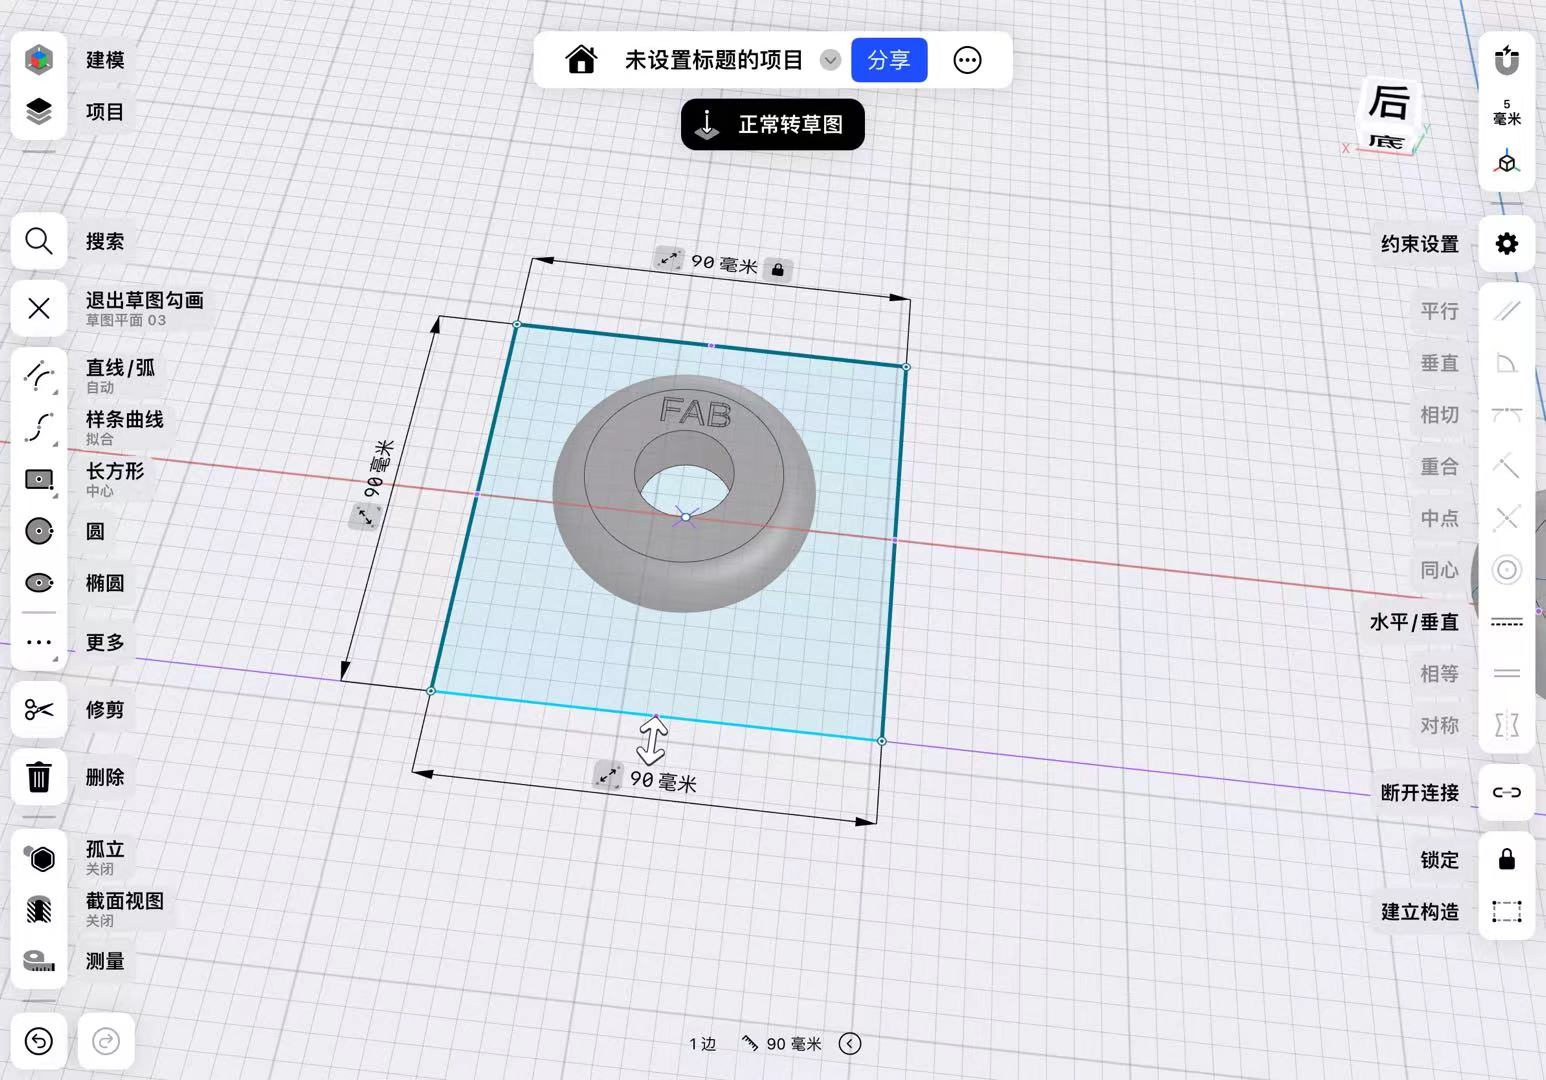
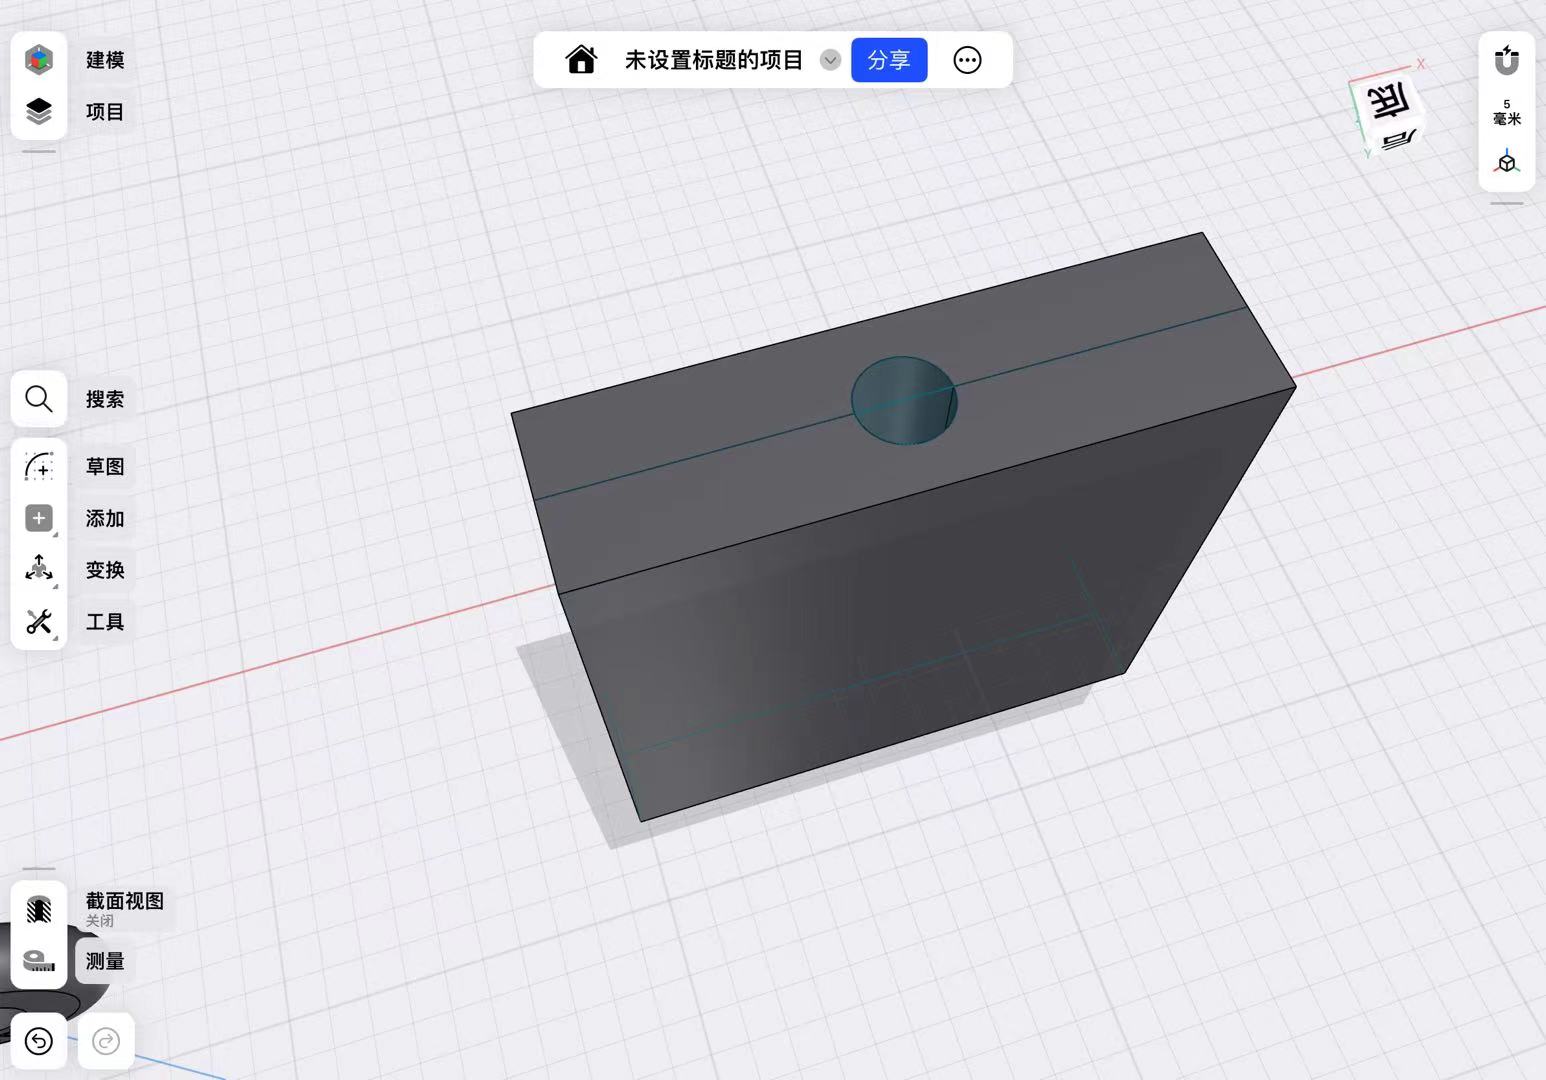
First, I designed the external dimensions of the mold based on the diameter and thickness of the wheel.
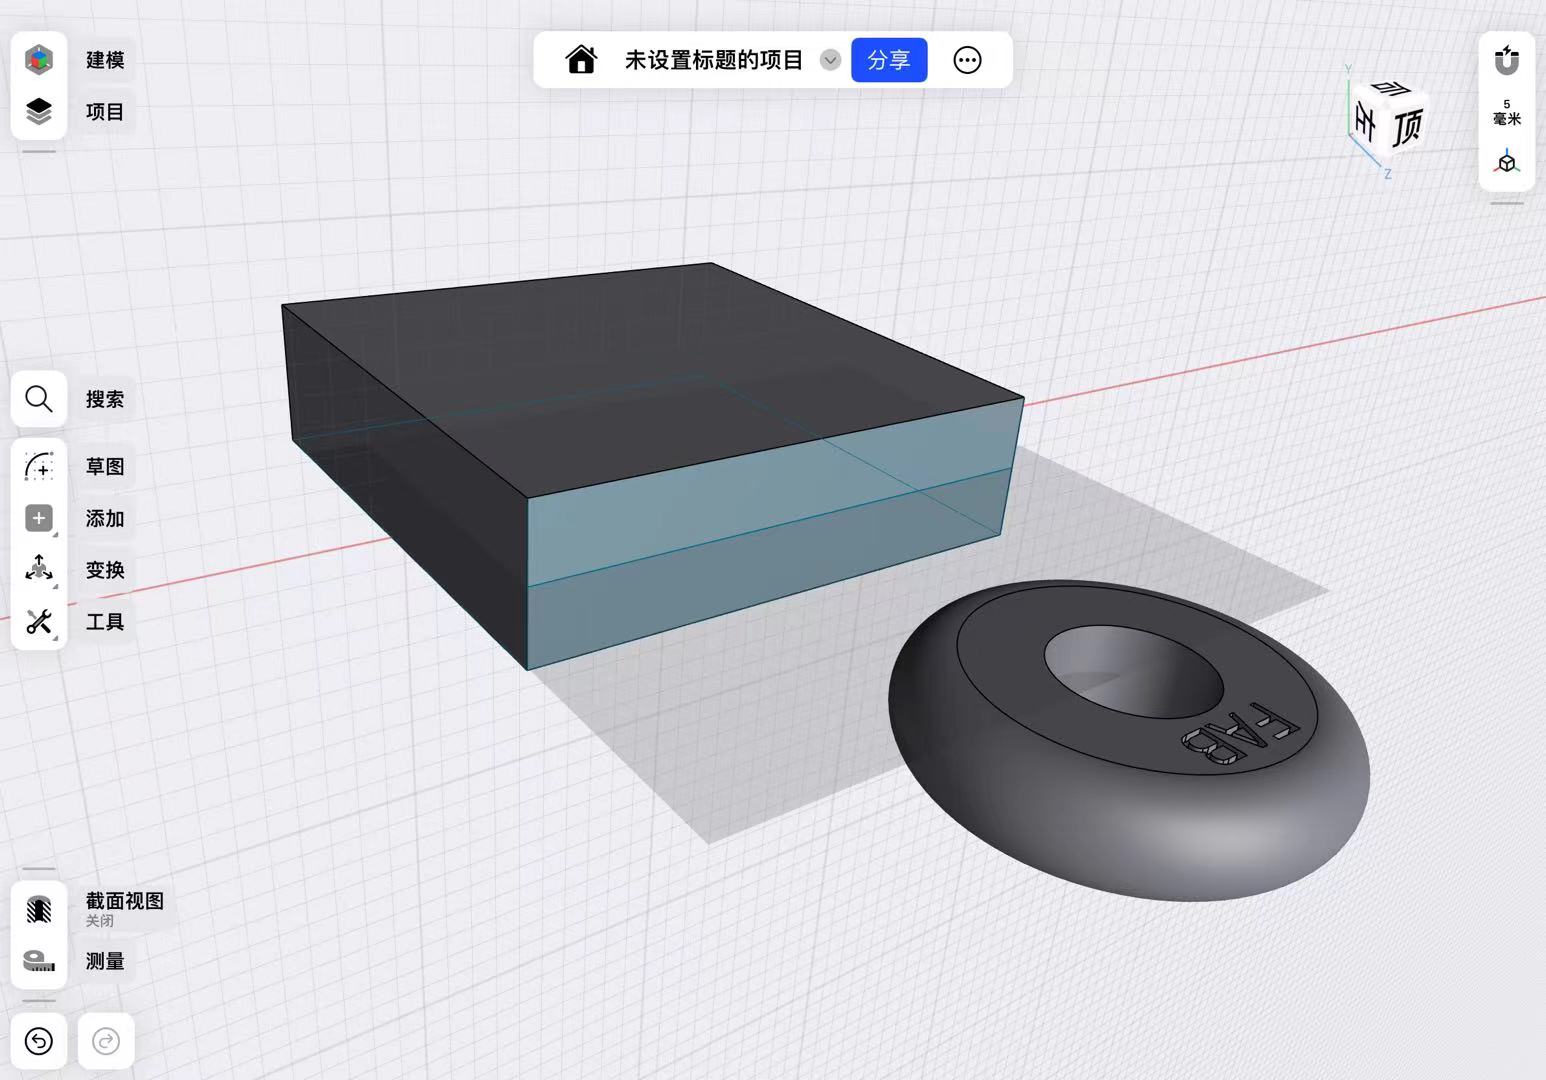
Then, by extruding, I designed the dimensions after the mold closes to be higher than the wheel, ensuring successful demolding.
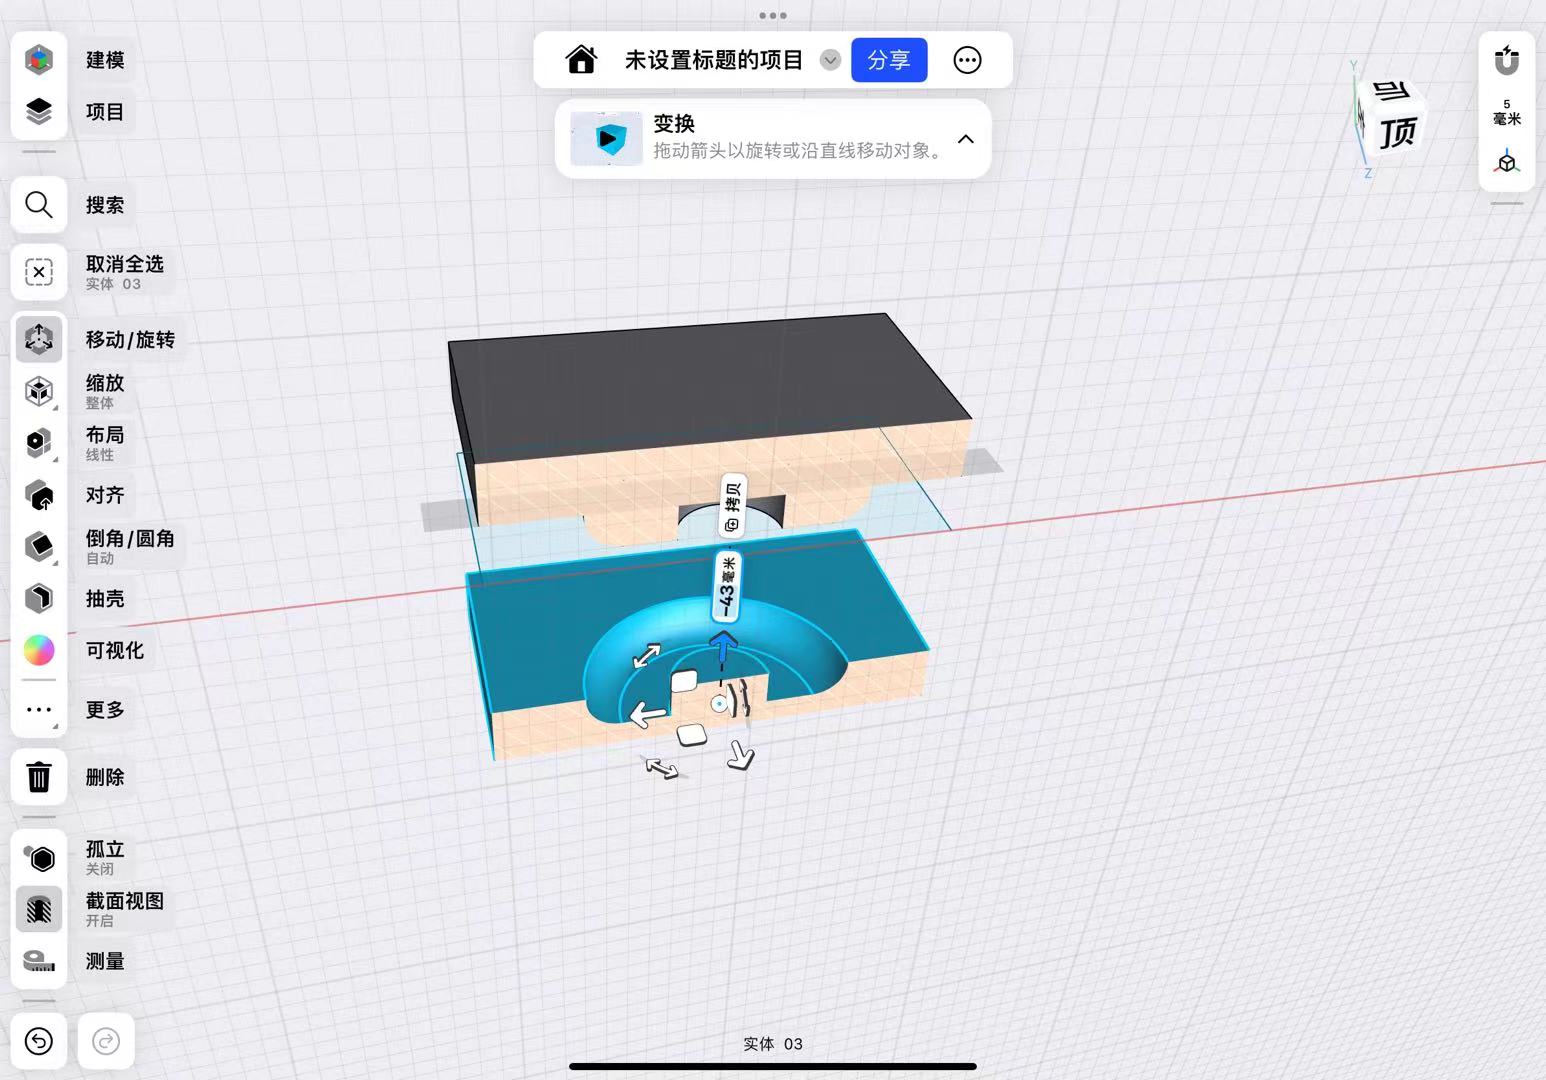
I used the subtraction function in Boolean operations to hollow out the middle of the mold.
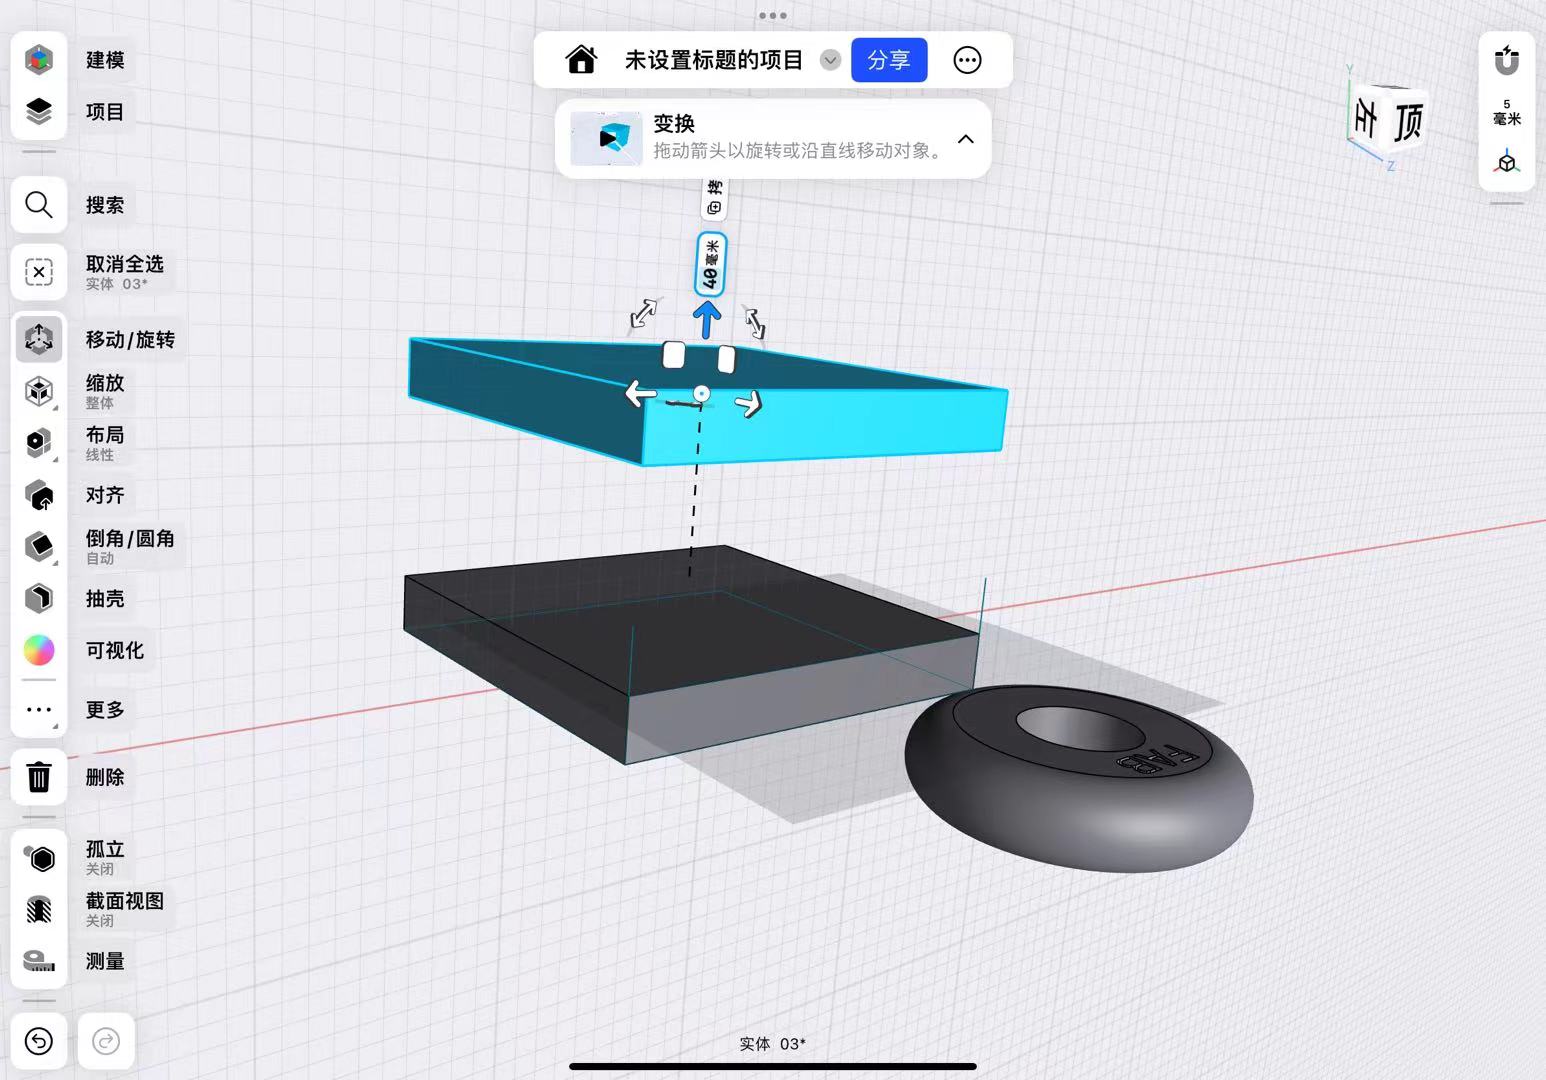
Finally, I split the mold into two by establishing a mid-plane.
It is important to note that I added an inlet for injecting AB glue to ensure the glue could fill the mold.
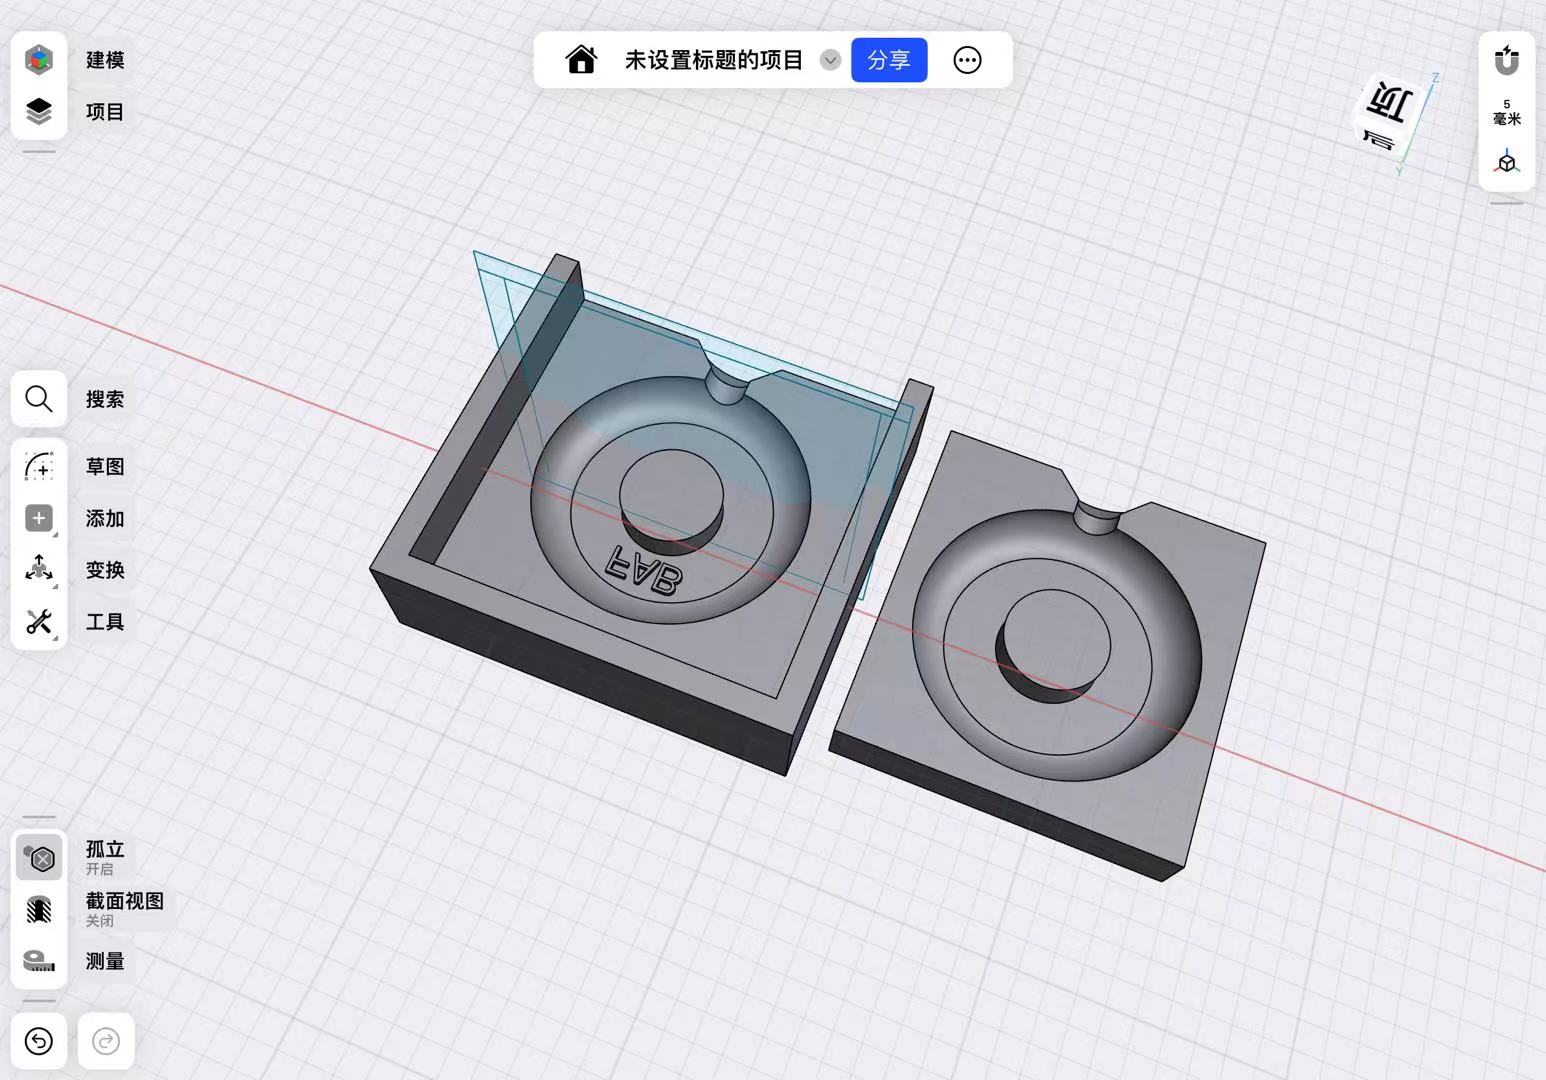
After adjusting the dimensions and adding an outer edge to the mold to ensure the two molds could fit together, I accounted for the tolerance of the 3D printer by setting the overall tolerance to -0.2mm.
I then began printing.
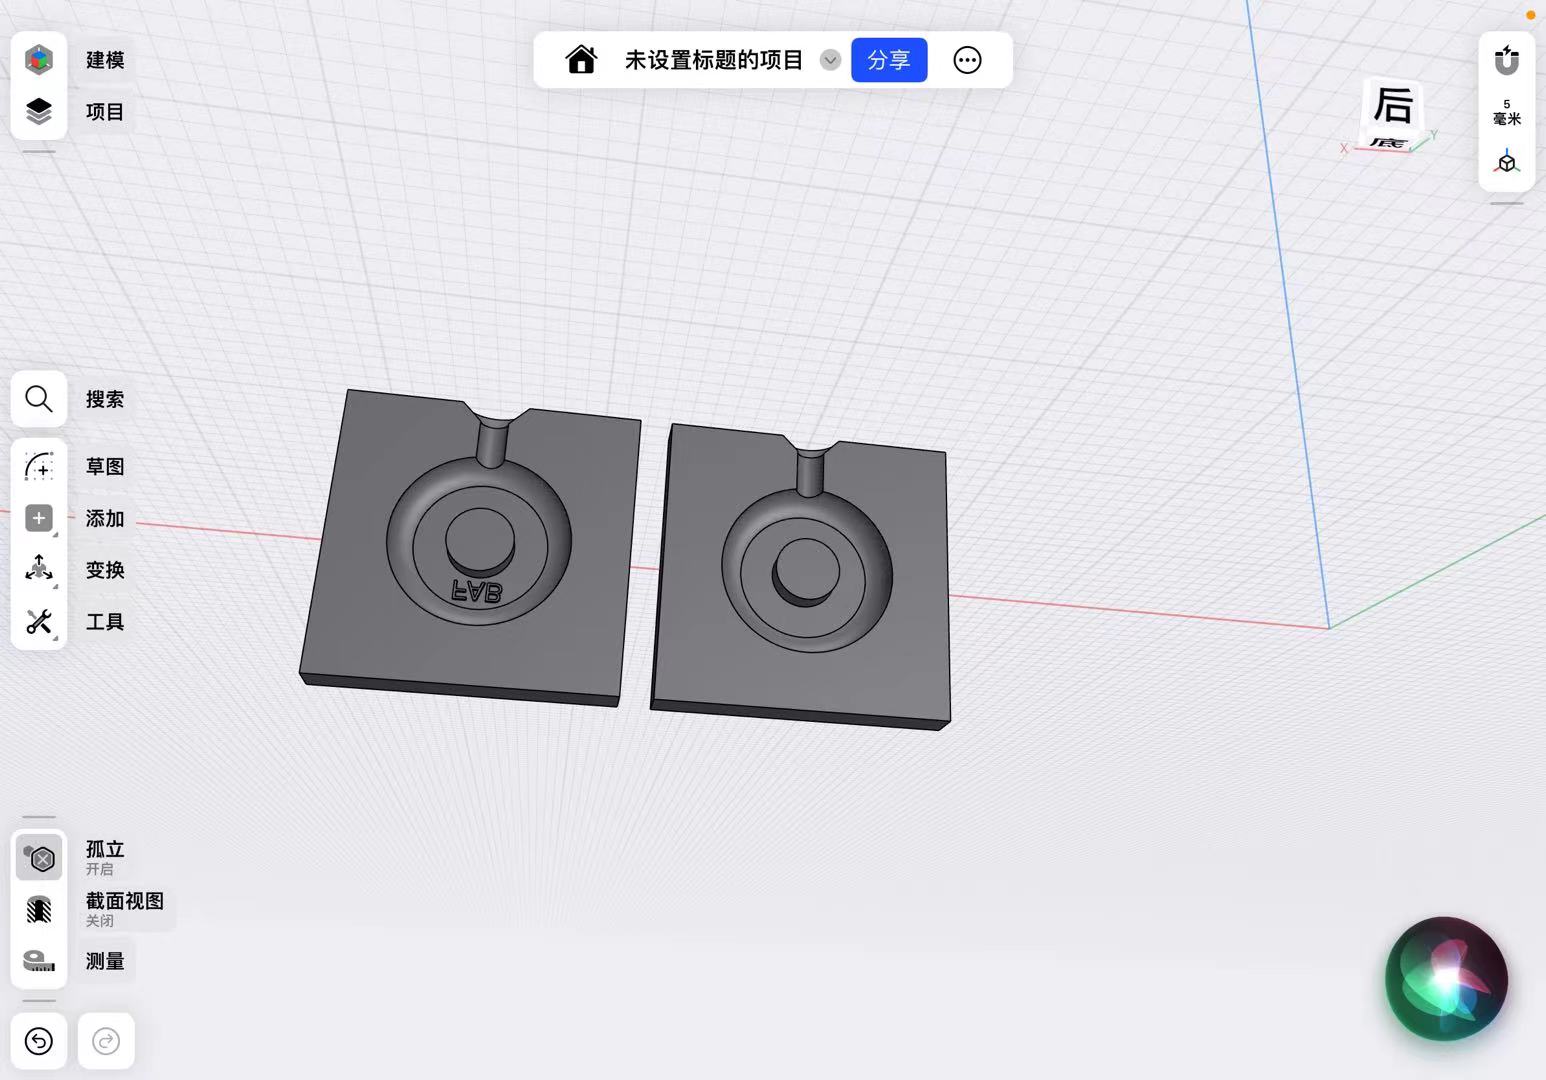
I get the final design of the mold.
3D Printing of The Wheel Mold
I transferred the generated STL file to the slicing software that comes with the Tuozhu A1, started slicing, and began printing.
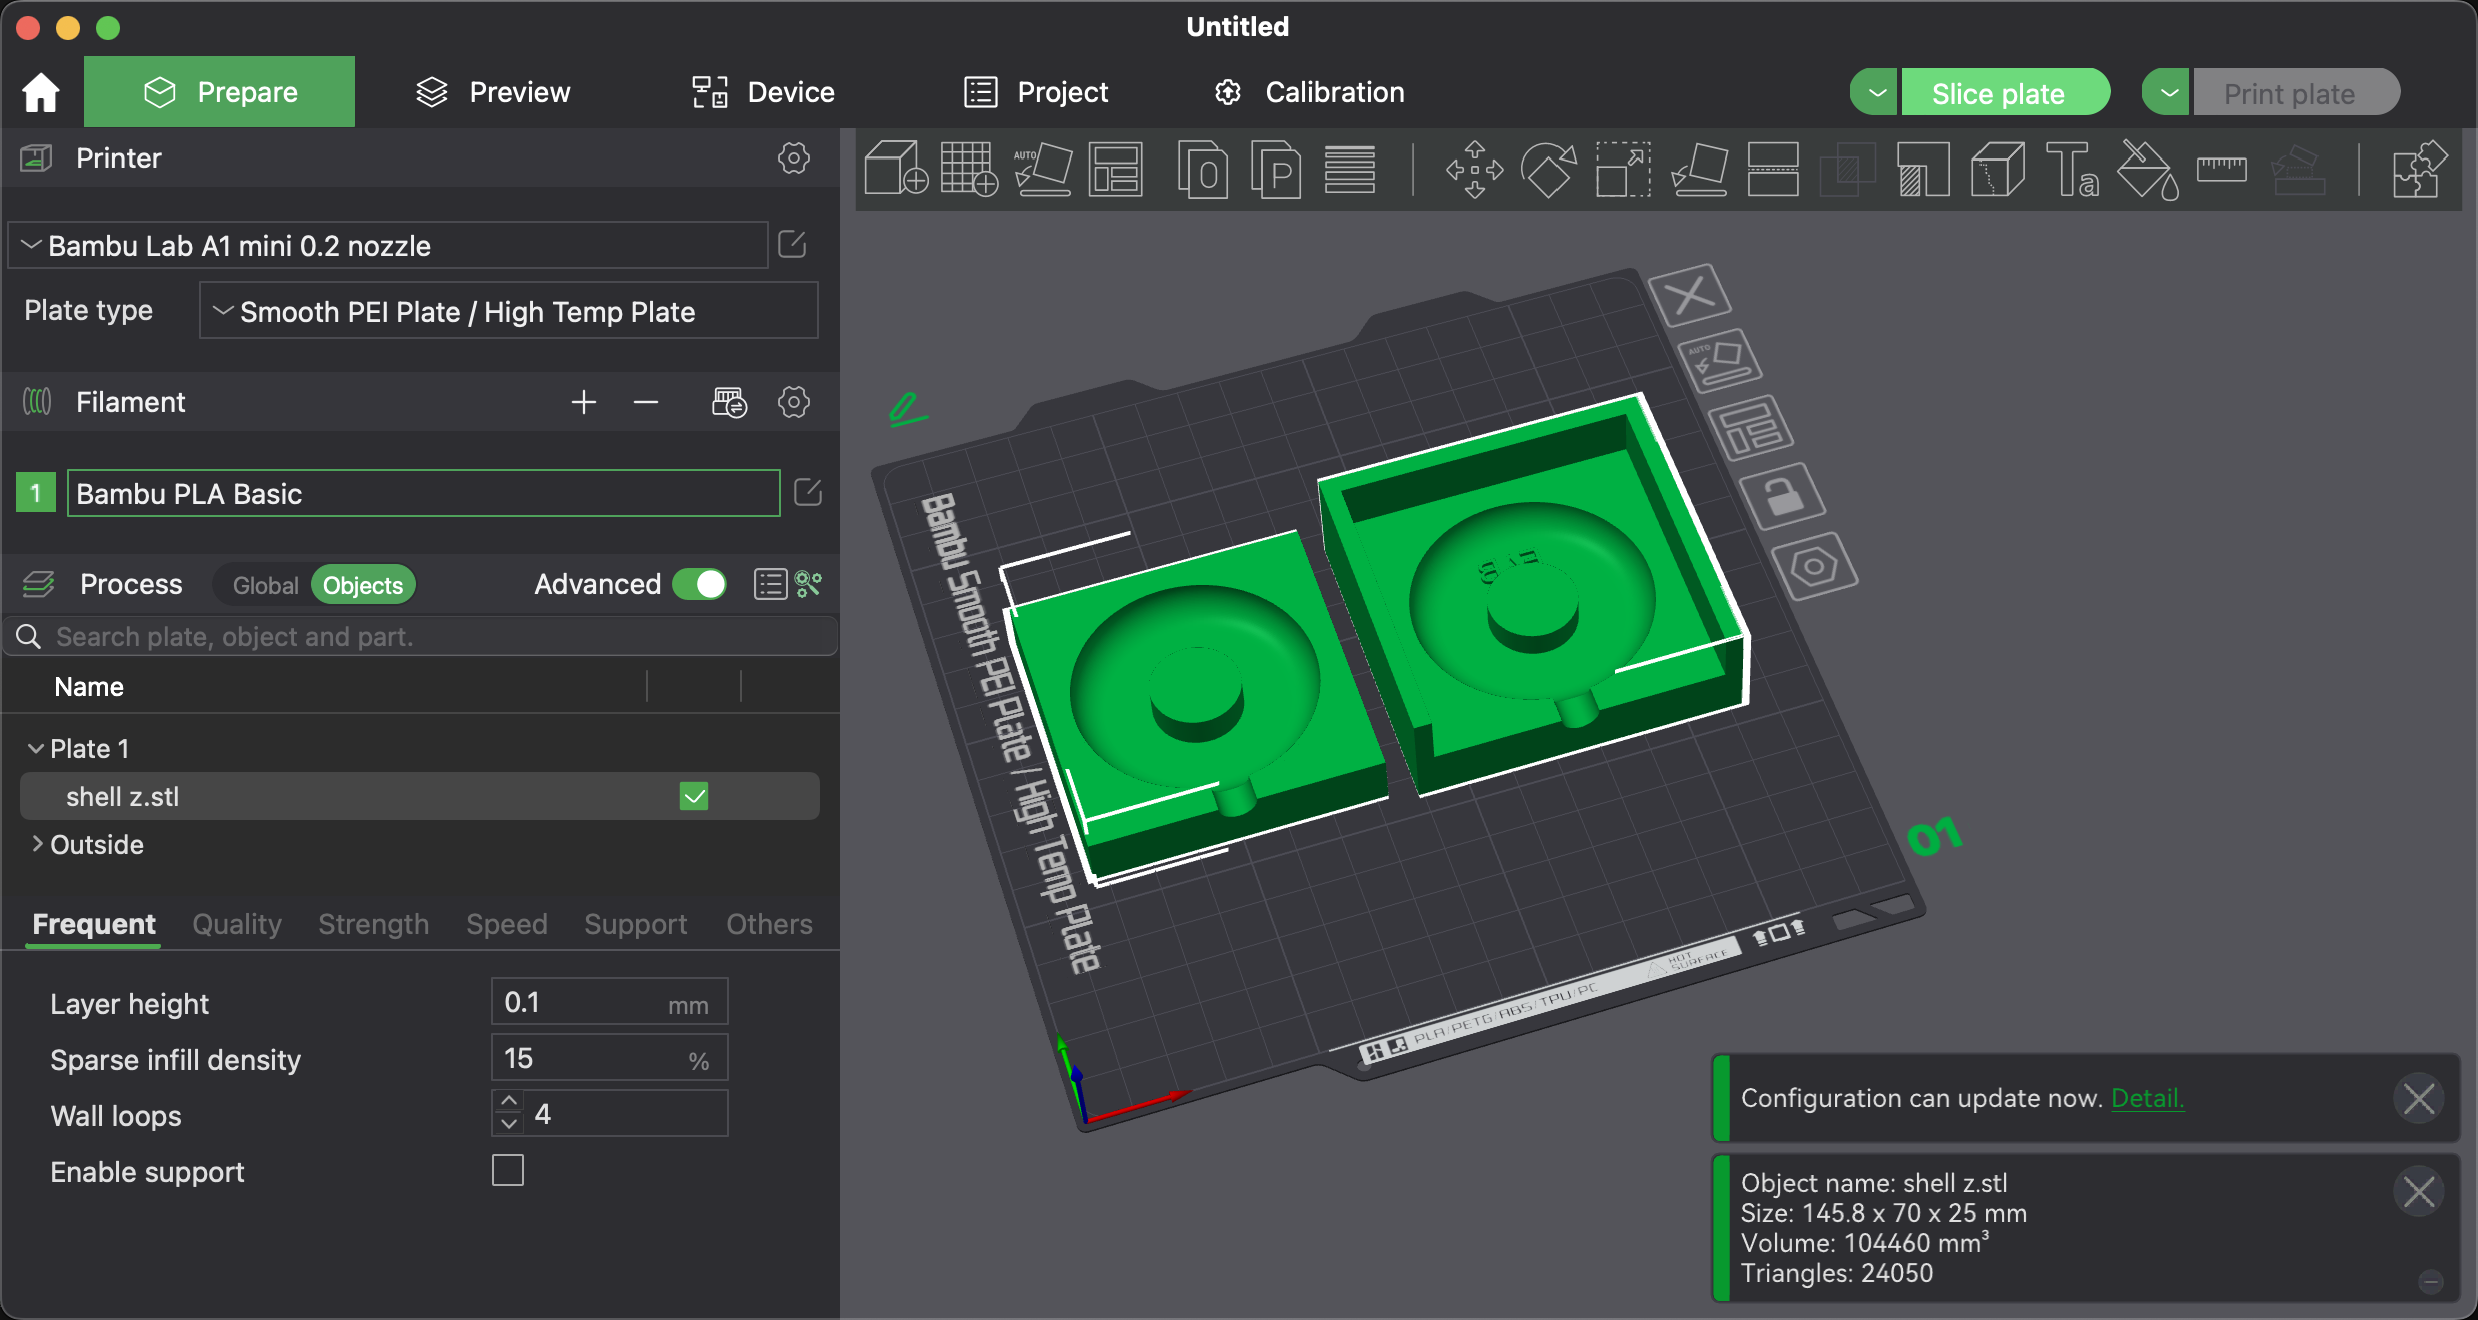
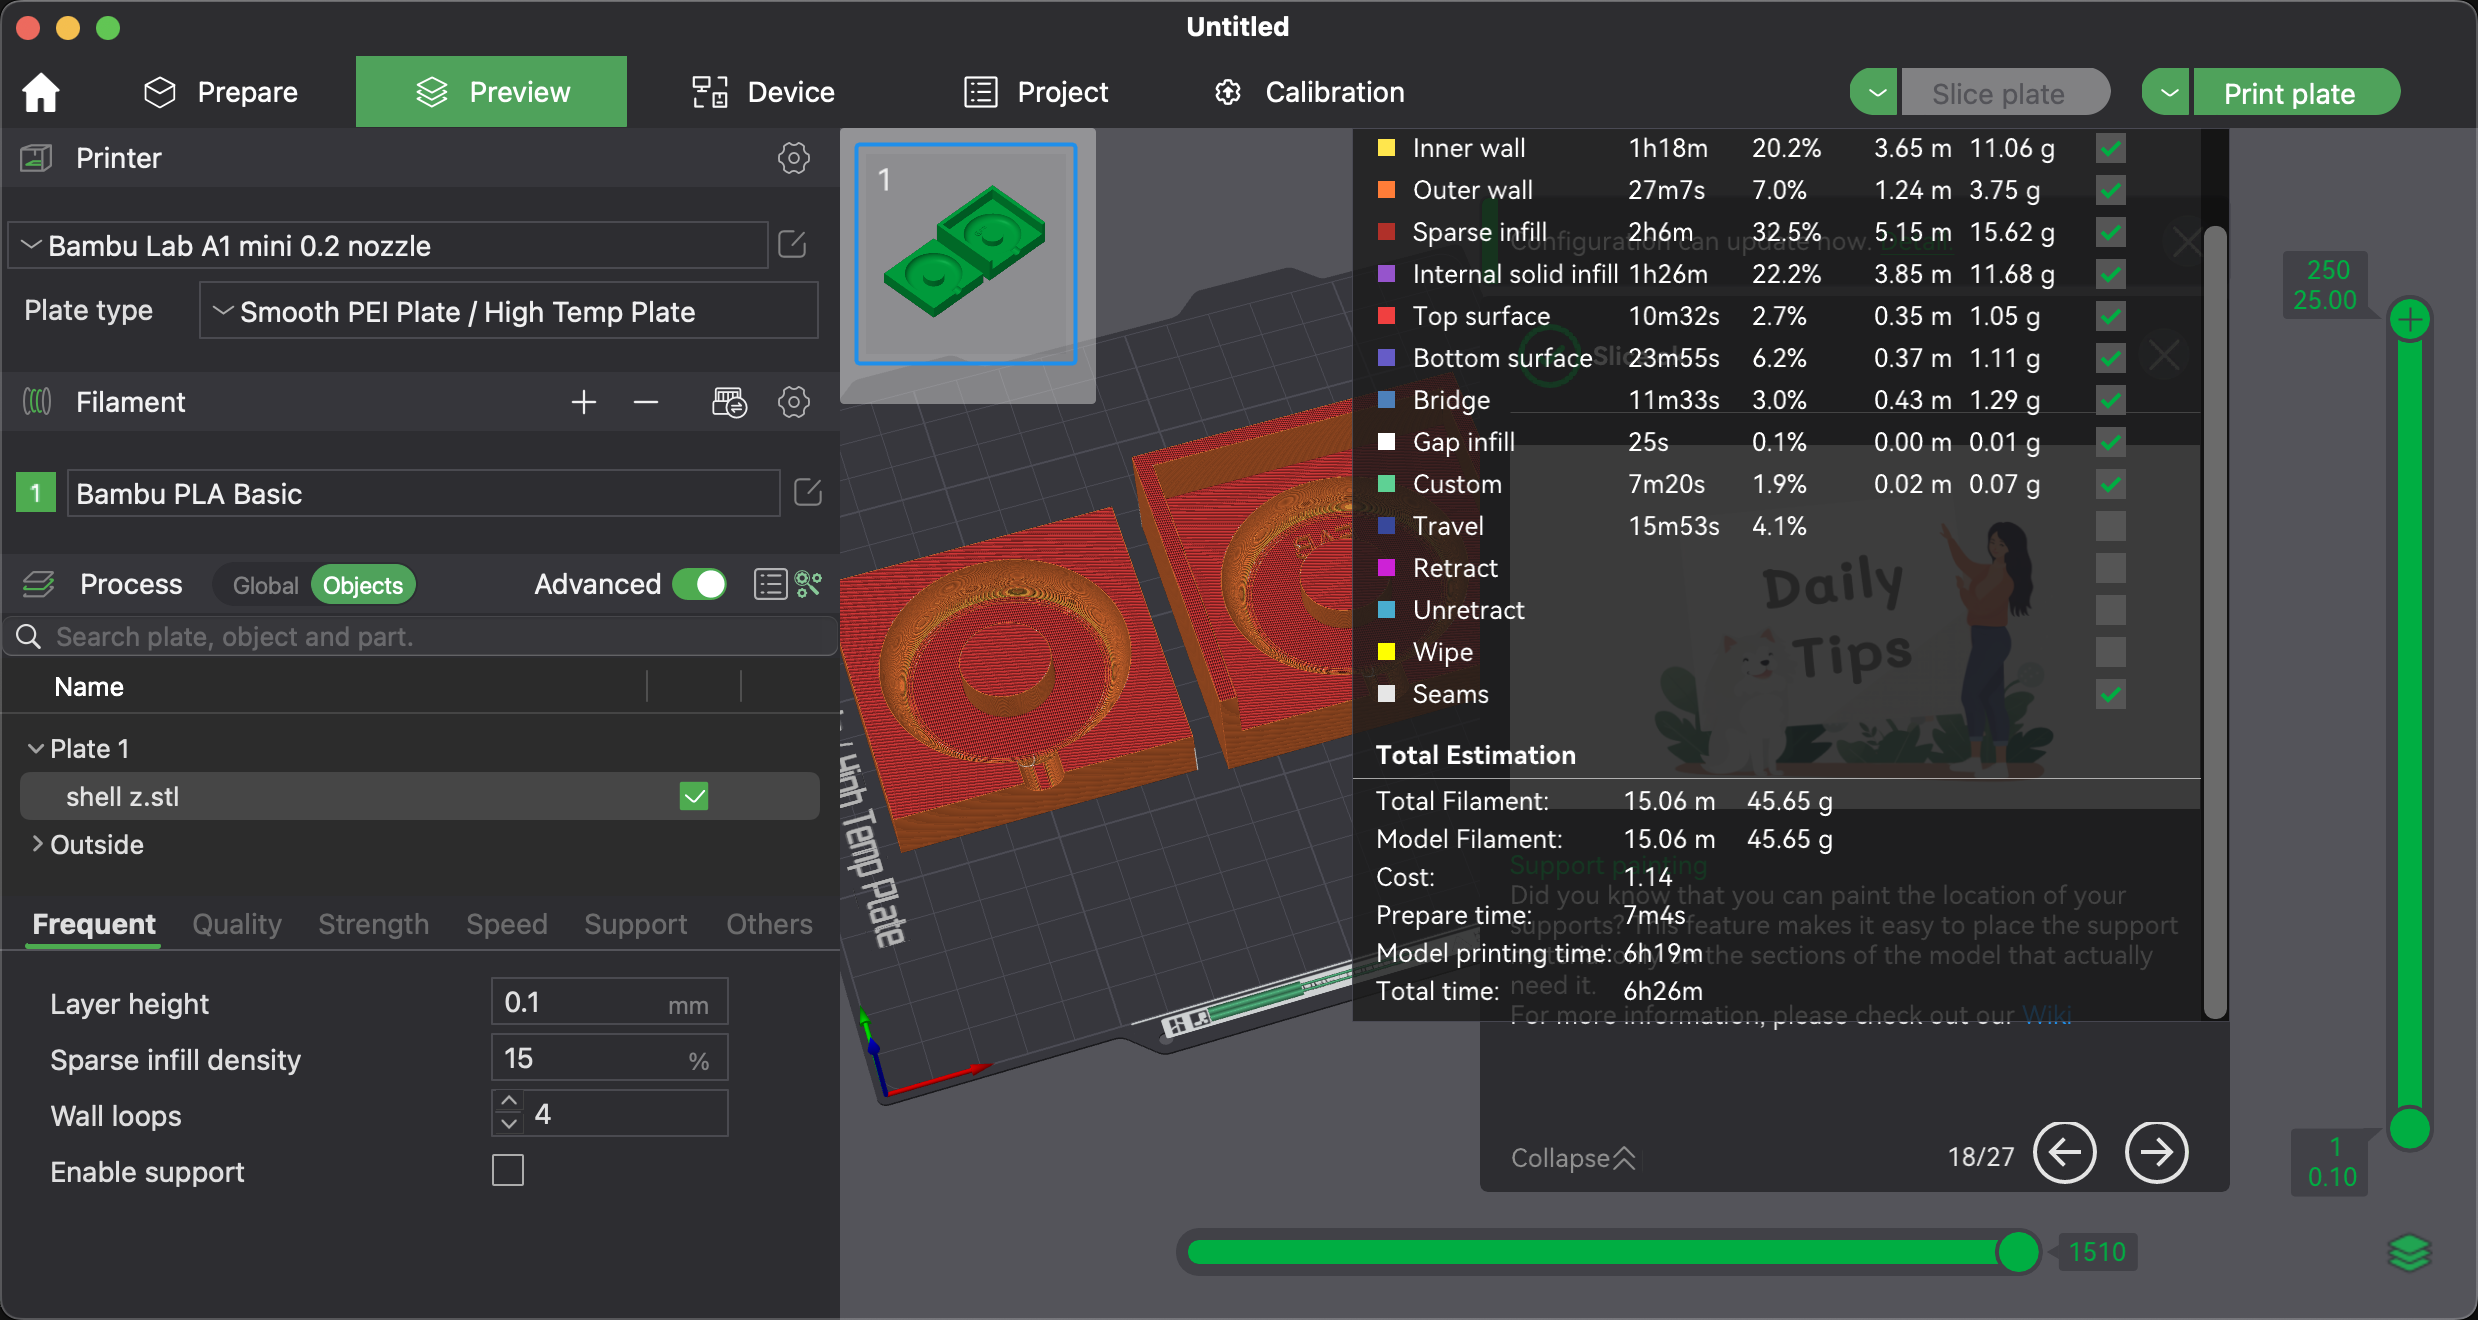
In the end, I got a 3D printed Mold.
Using AB Epoxy Resin
Mixing Epoxy Resin
AB Epoxy Resin:
AB epoxy resin is a two-component material composed of resin and hardener.
When mixed, they chemically react to form a hard plastic widely used for bonding, coating, and casting.
This resin offers excellent mechanical properties and chemical resistance, suitable for various industrial and craft applications.
It is important to mix it in the correct ratio to ensure optimal performance and proper curing.
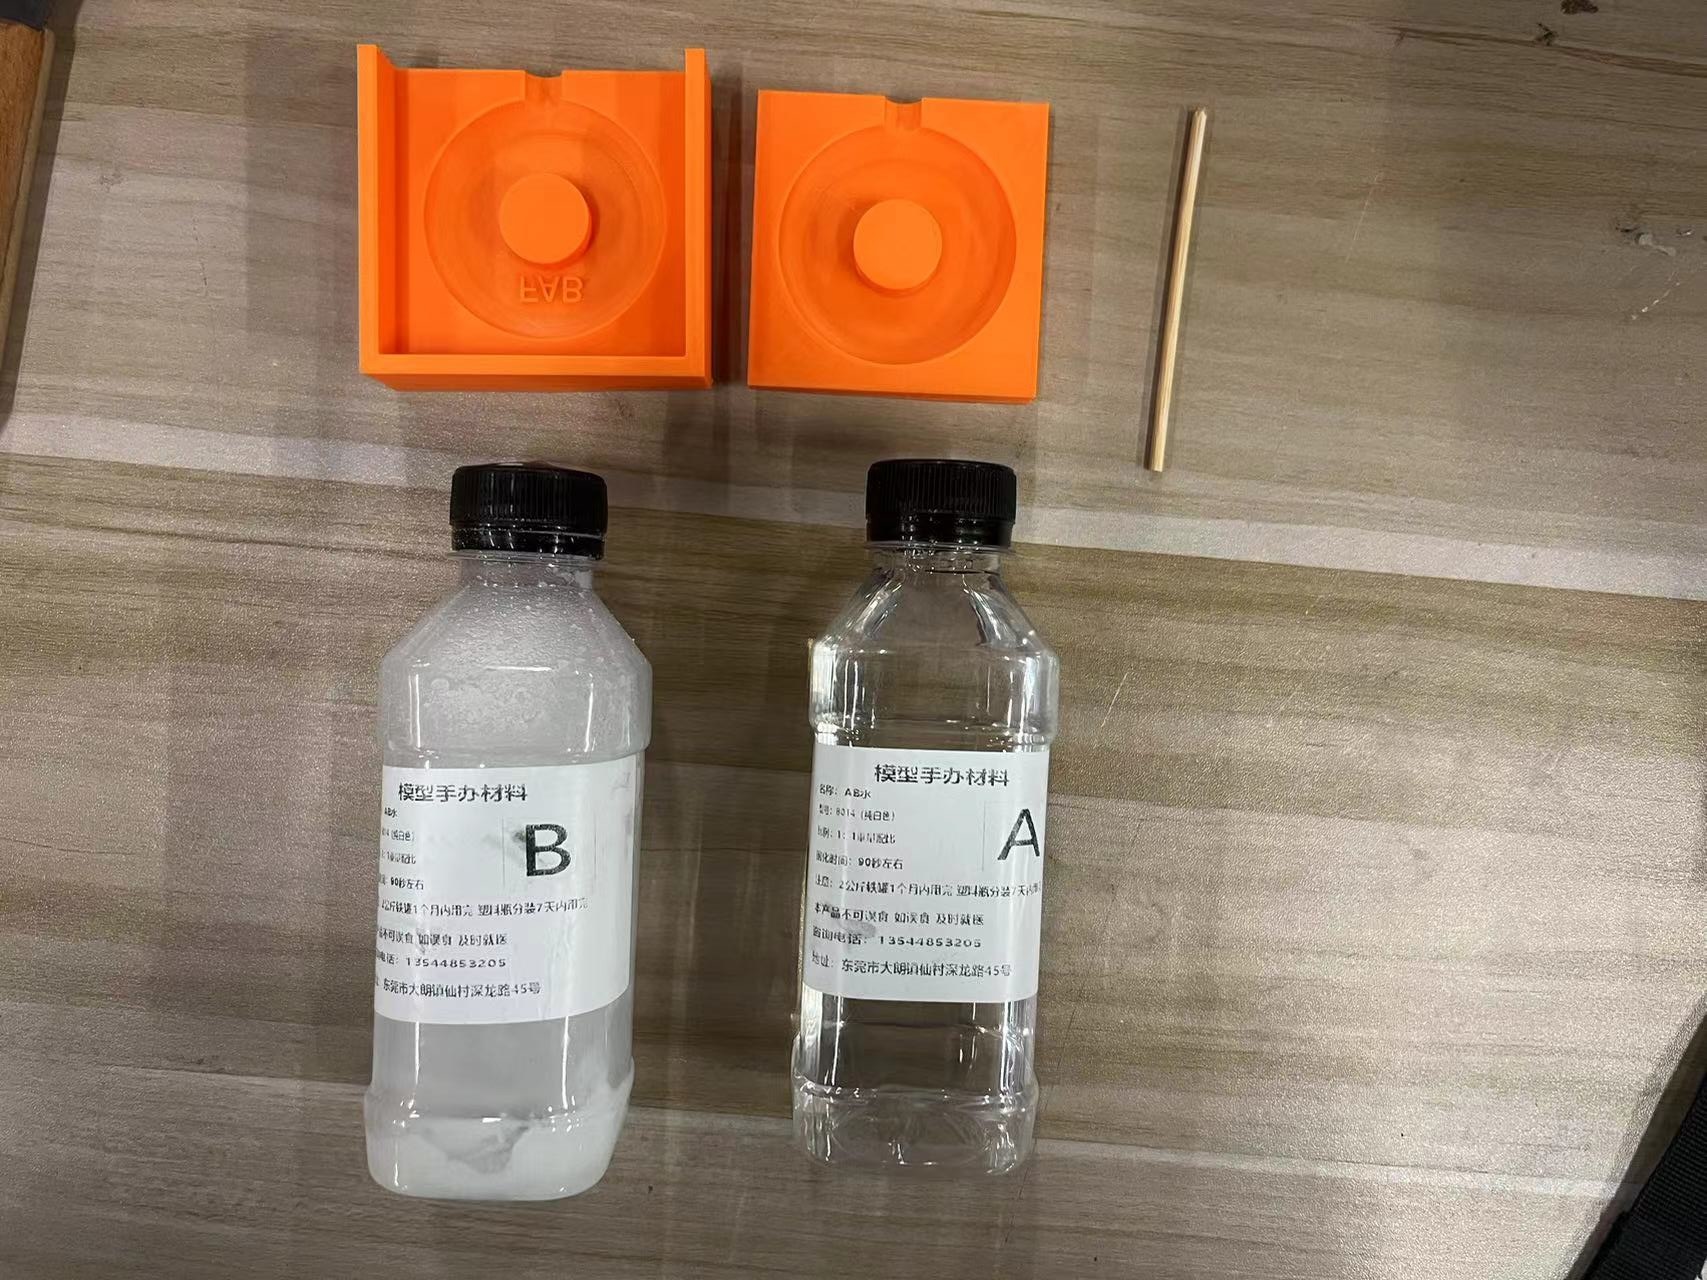
Since my supply of AB resin was running low, and the remaining amounts appeared close to 1:1, I decided to pour all of it into the container for mixing.
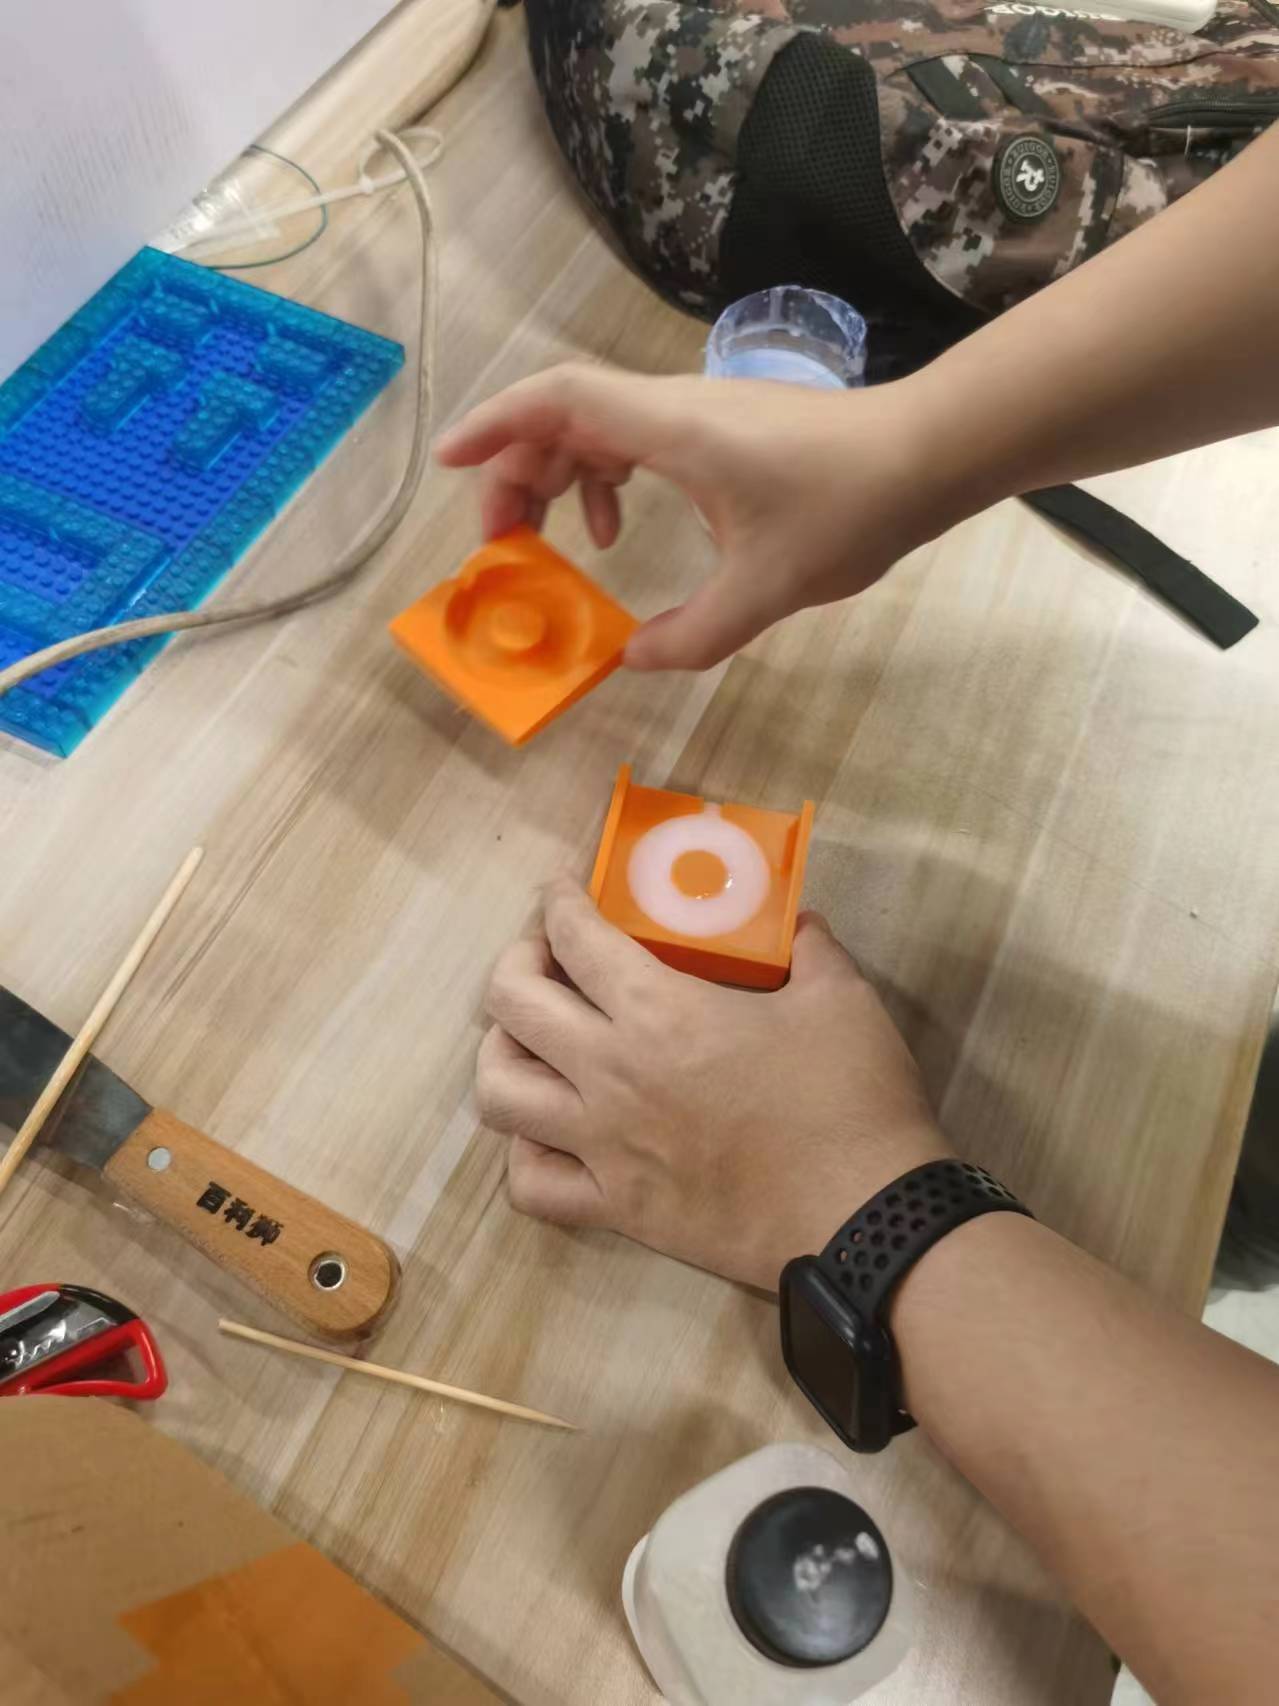
Injecting epoxy resin into the mold
I first poured some of the epoxy into one half of the mold, then put the two halves together.
During the pouring process, the AB epoxy continued to bubble due to the chemical reaction, so I kept stirring continuously with a stir stick.
With the heat generated by the chemical reaction, my stir stick also solidified within the mold, which I did intentionally to facilitate demolding.
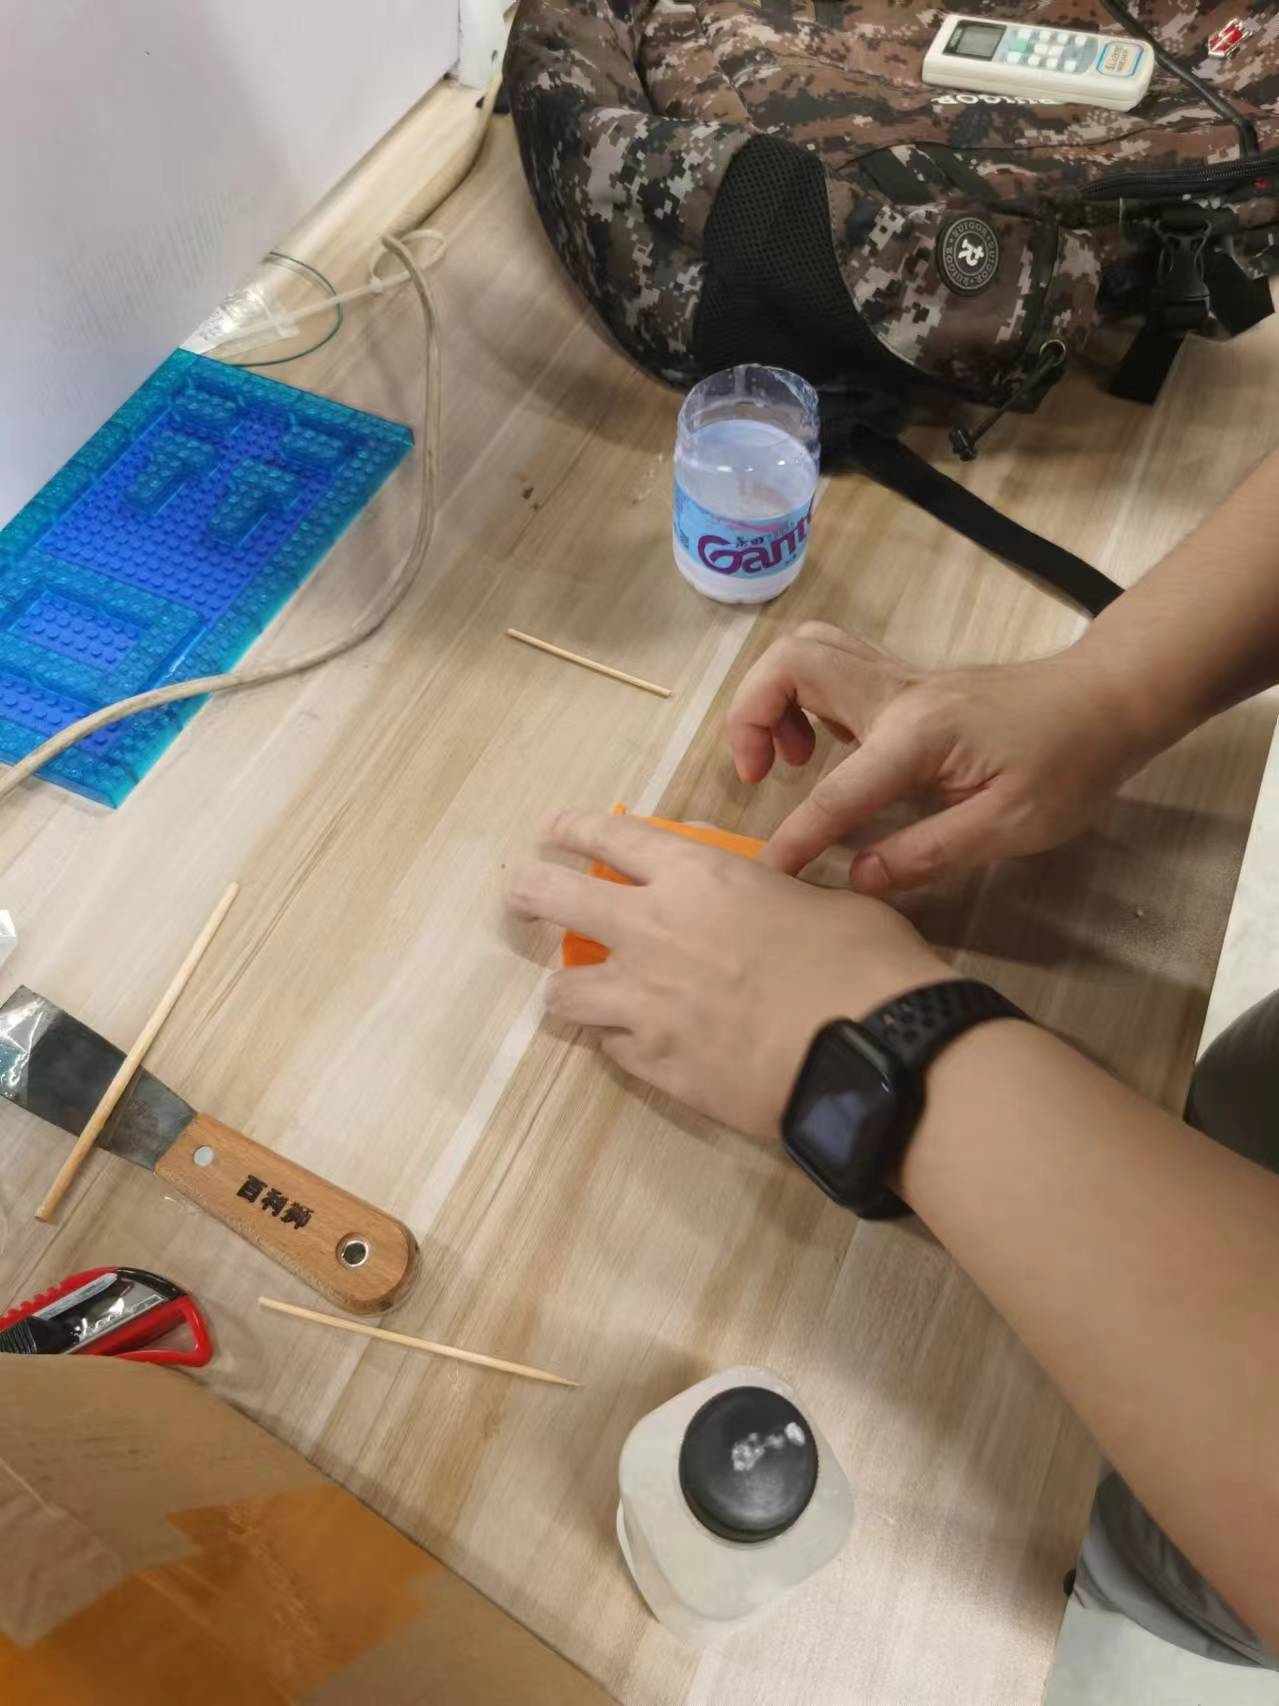
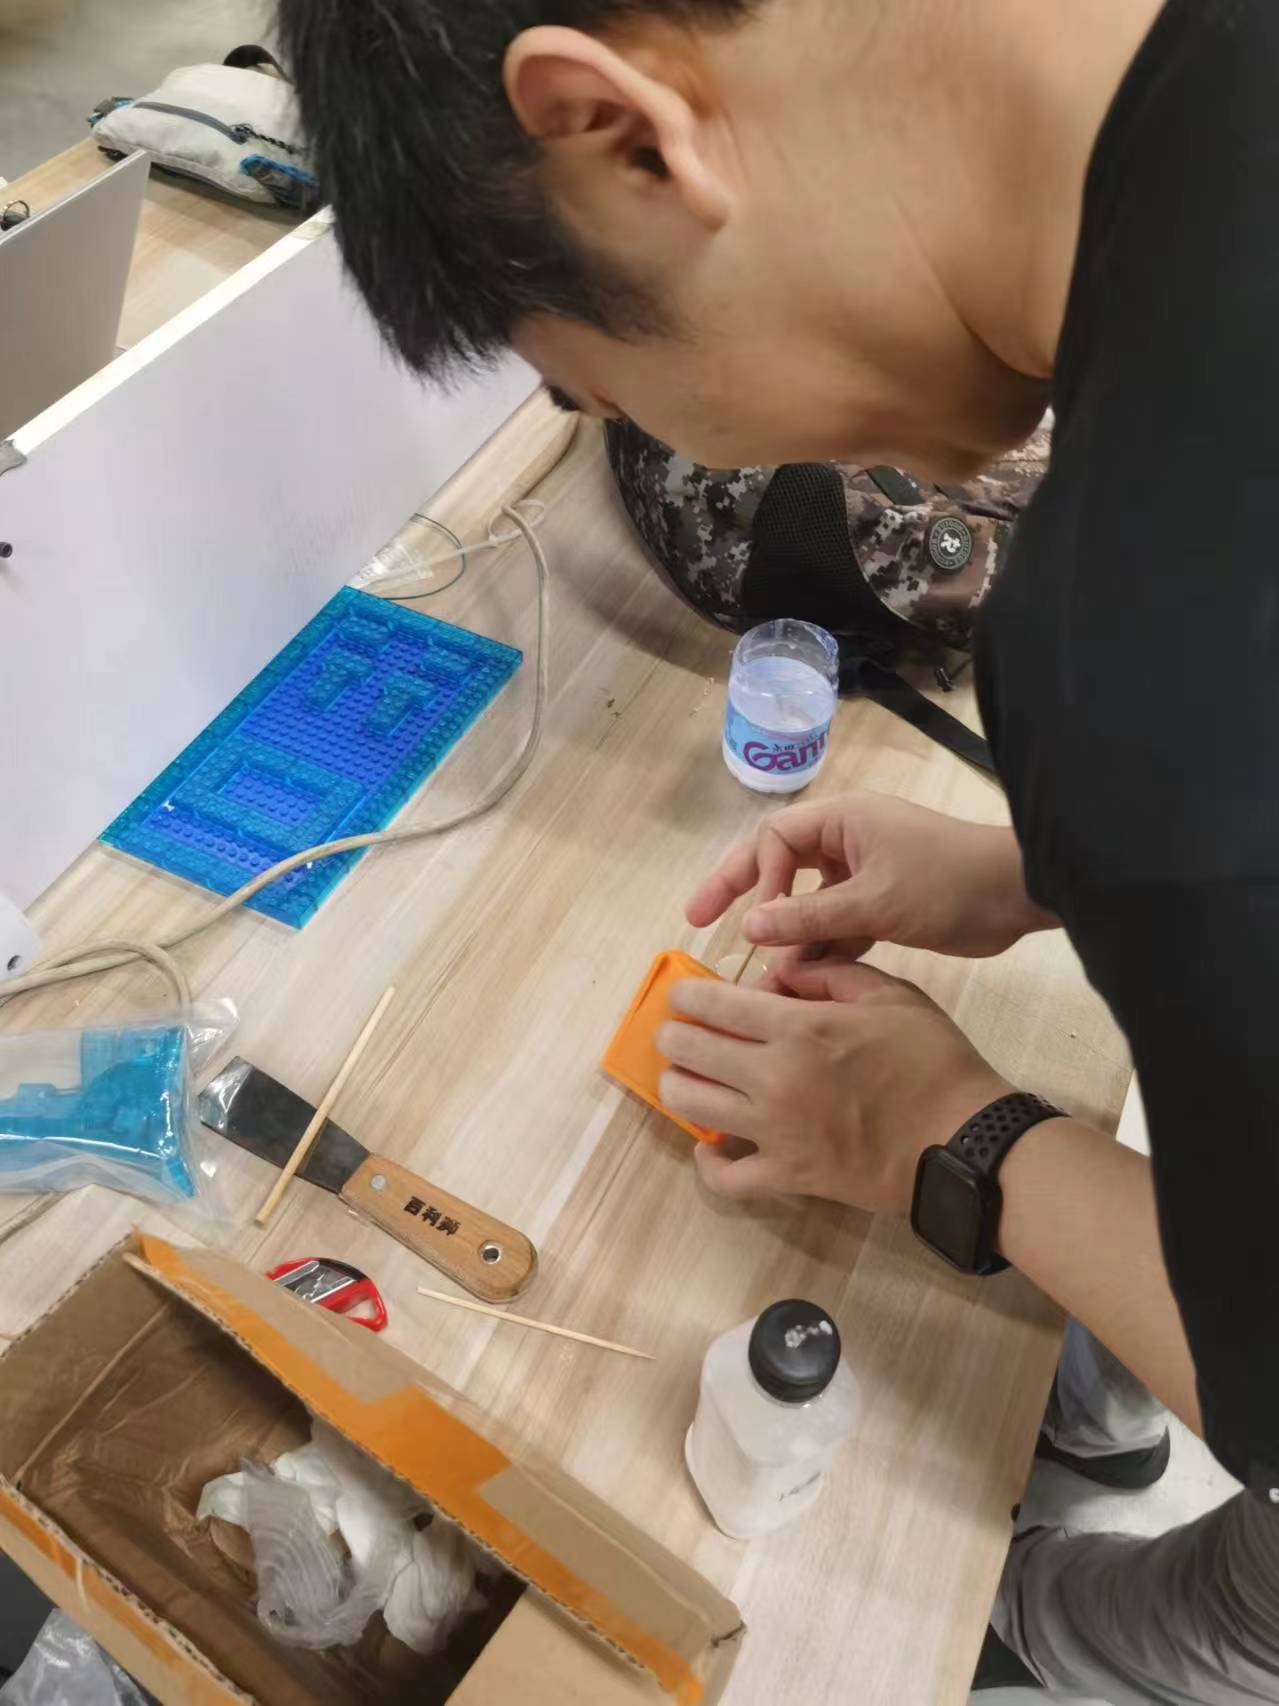

Molding
During the process of pouring the AB epoxy, some of the resin overflowed.
It's important to note that some types of resin can be toxic and corrosive, so they should be used with utmost caution.
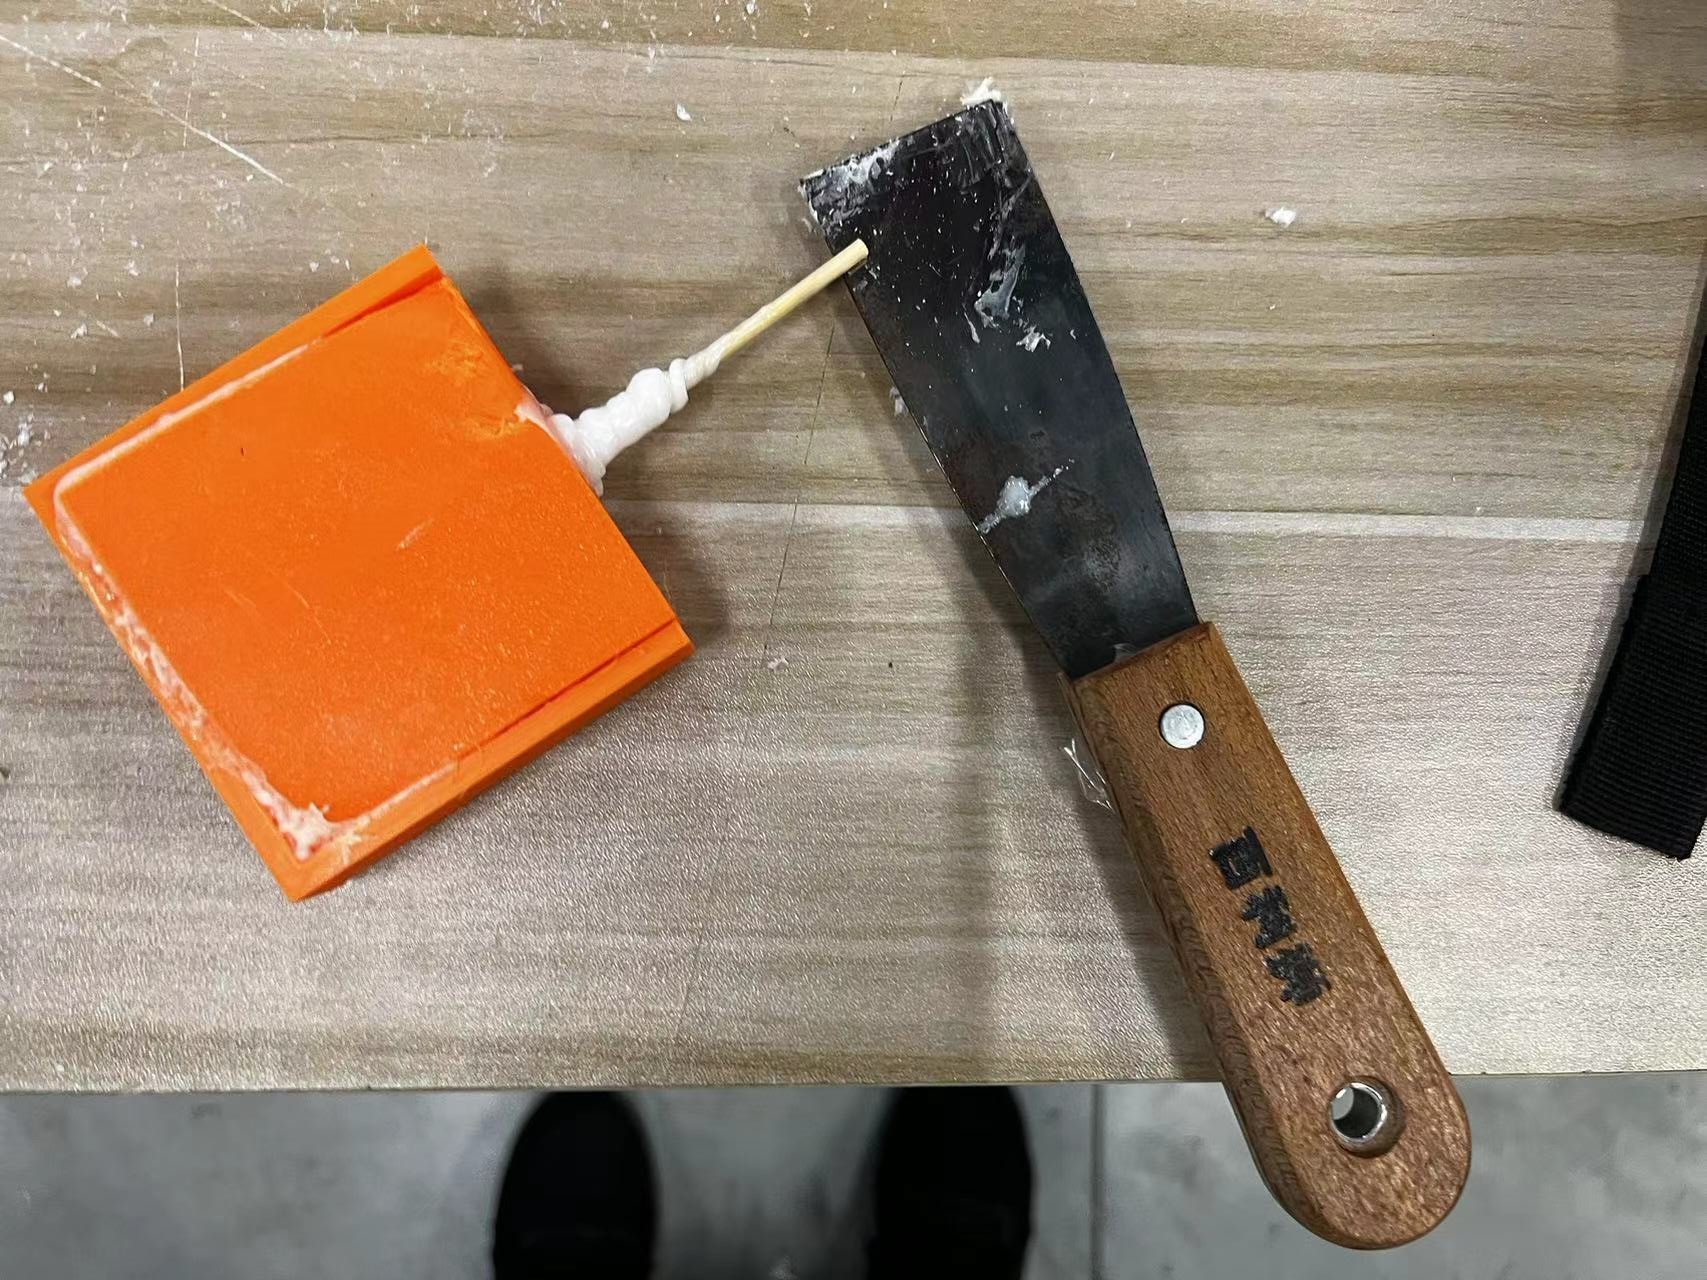
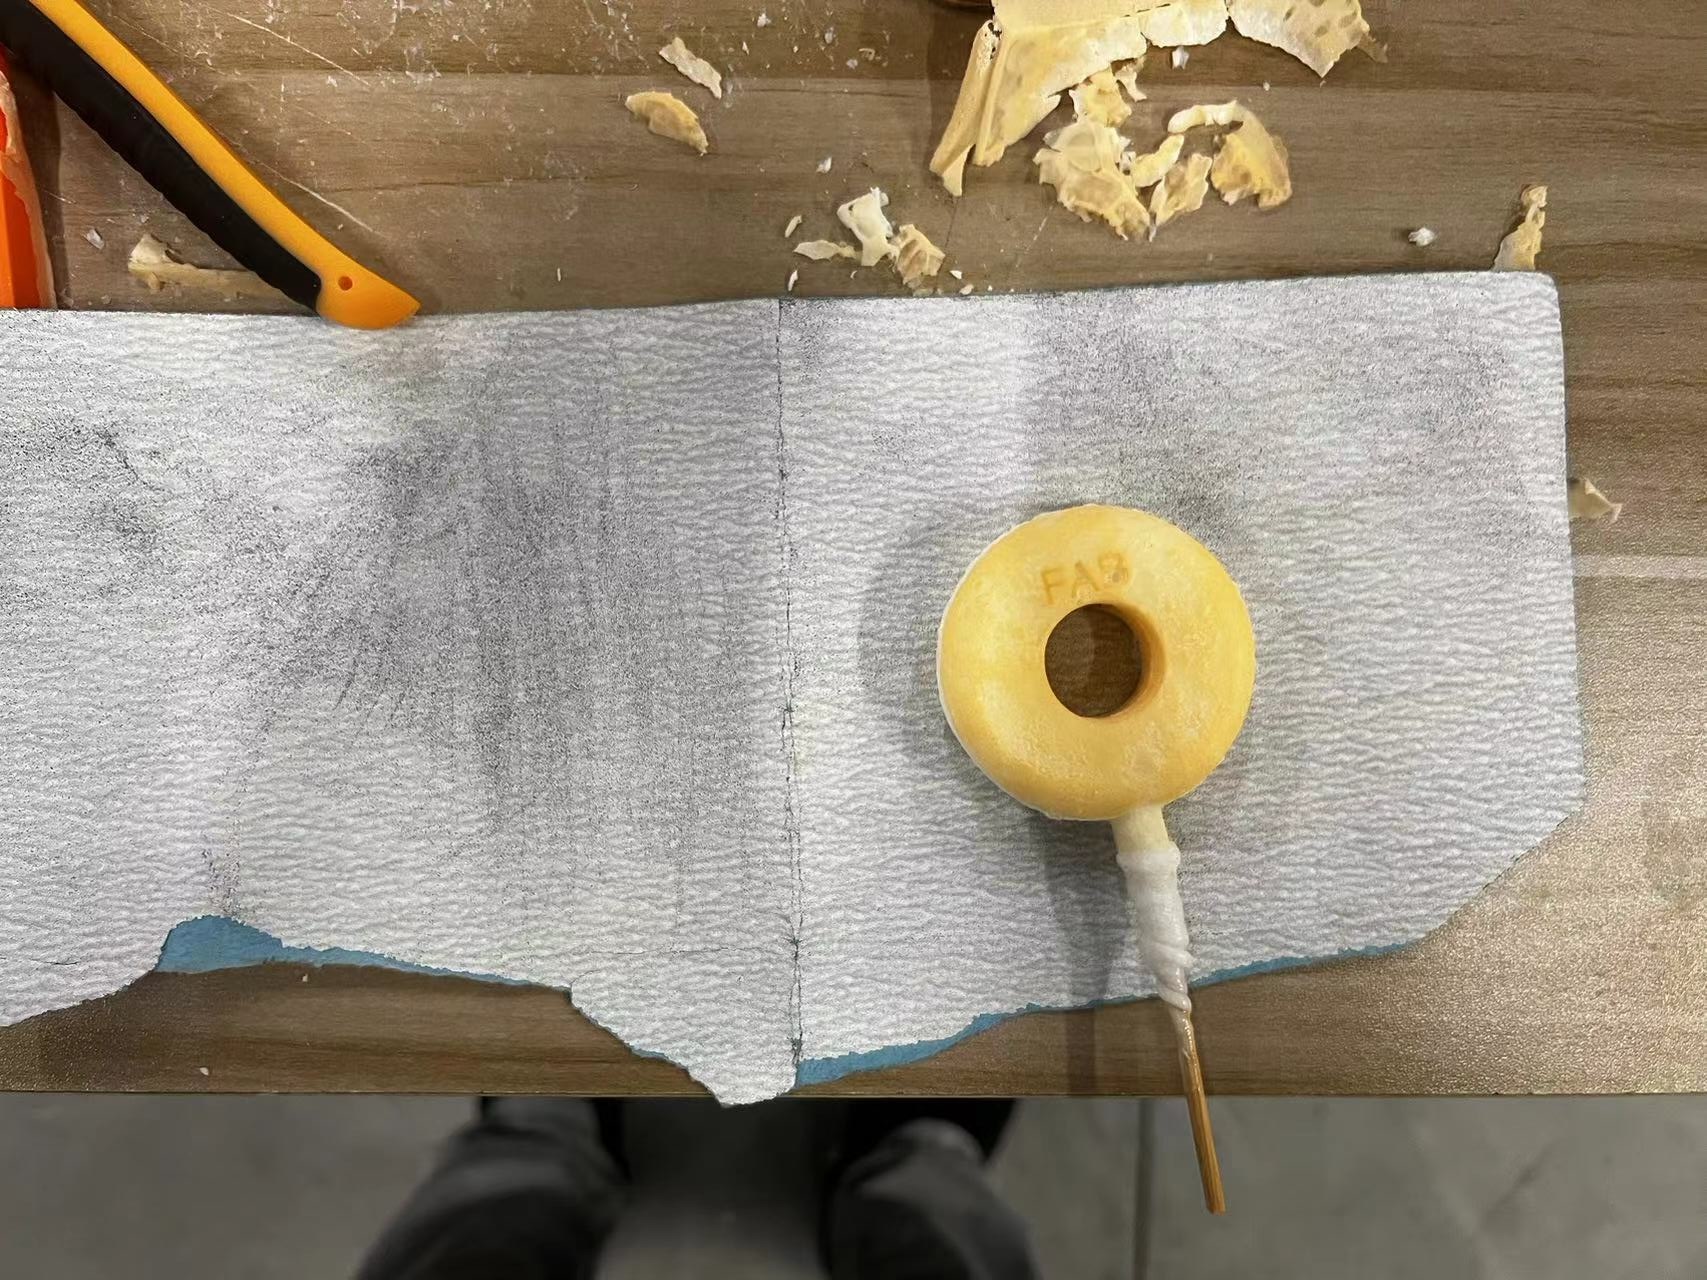
Demolding and Finishing
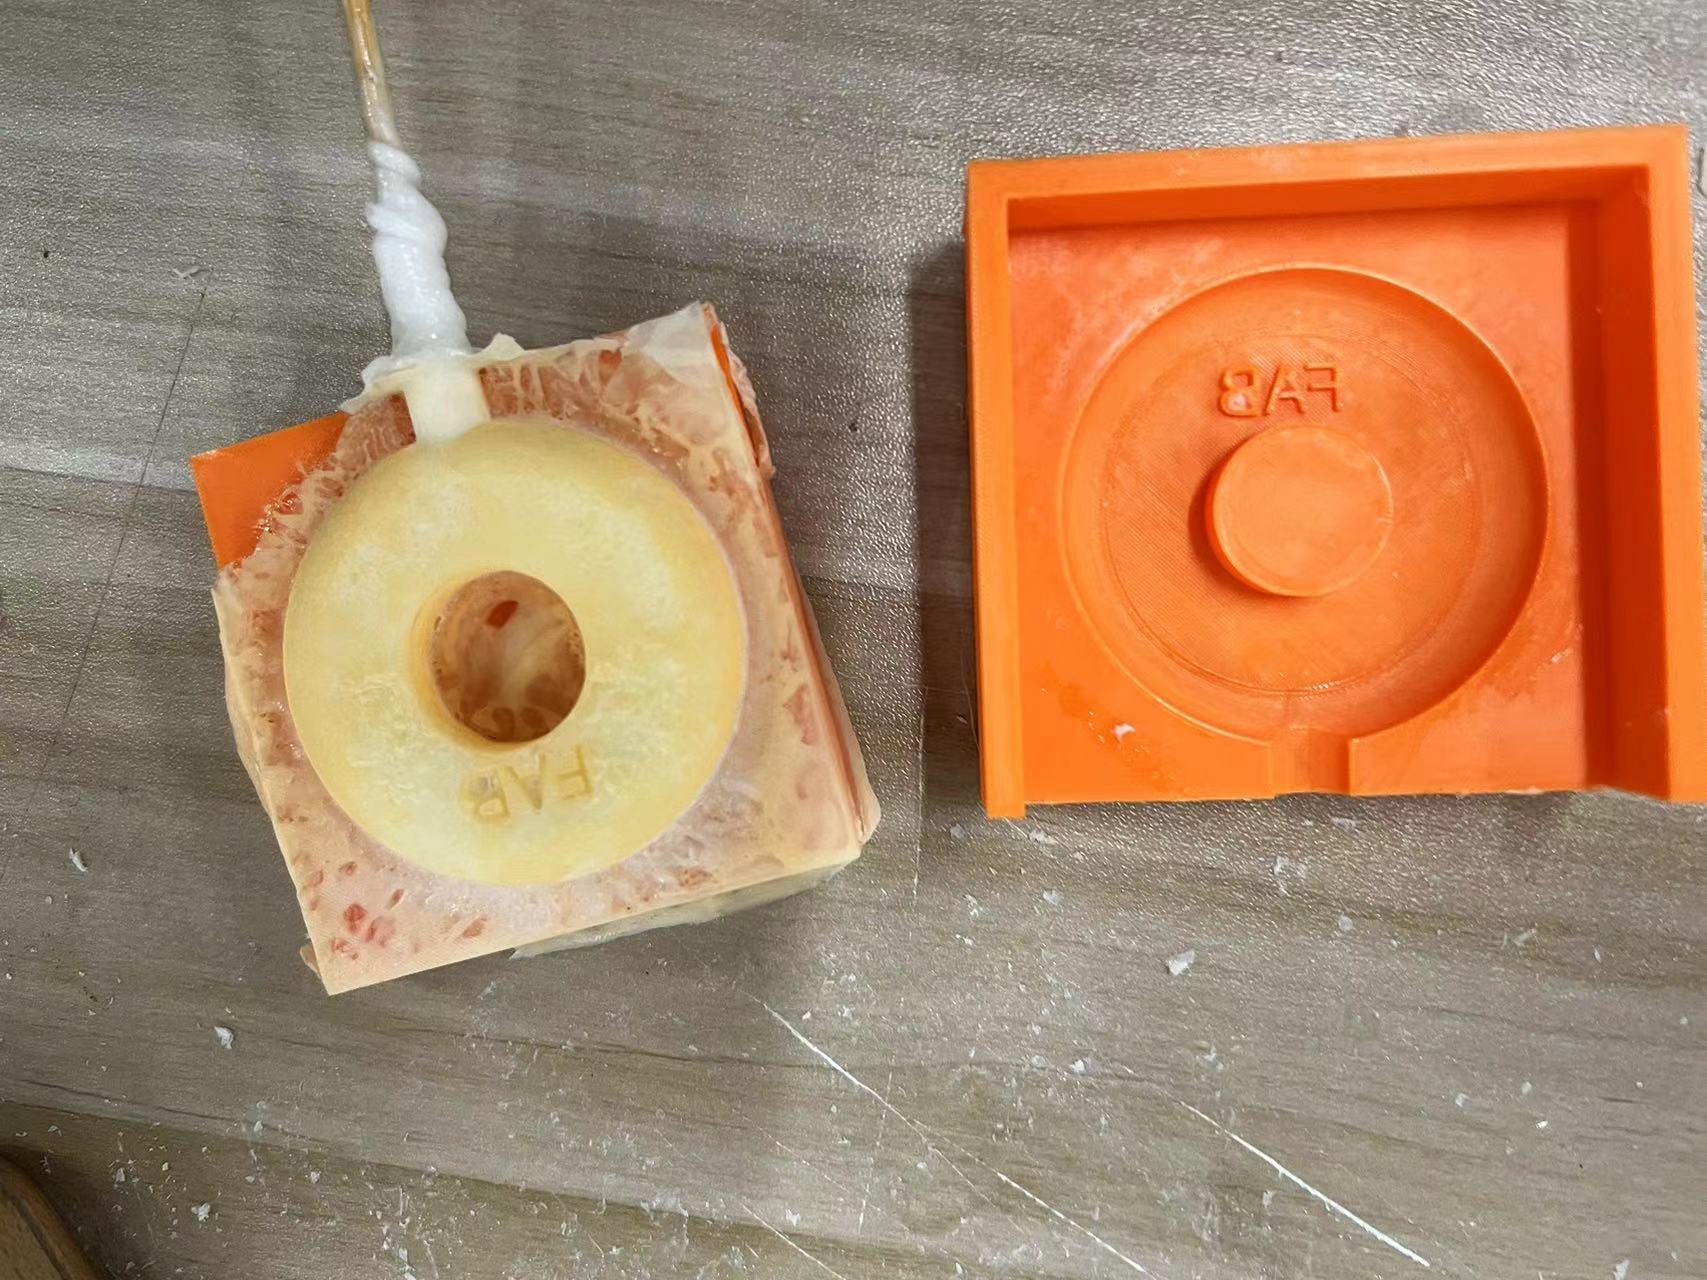
I ended up with a small object that looks like a lollipop, which was quite fun.
After demolding, there were many impurities on the surface, which I removed.
I then used sandpaper to sand the object for a smoother finish.

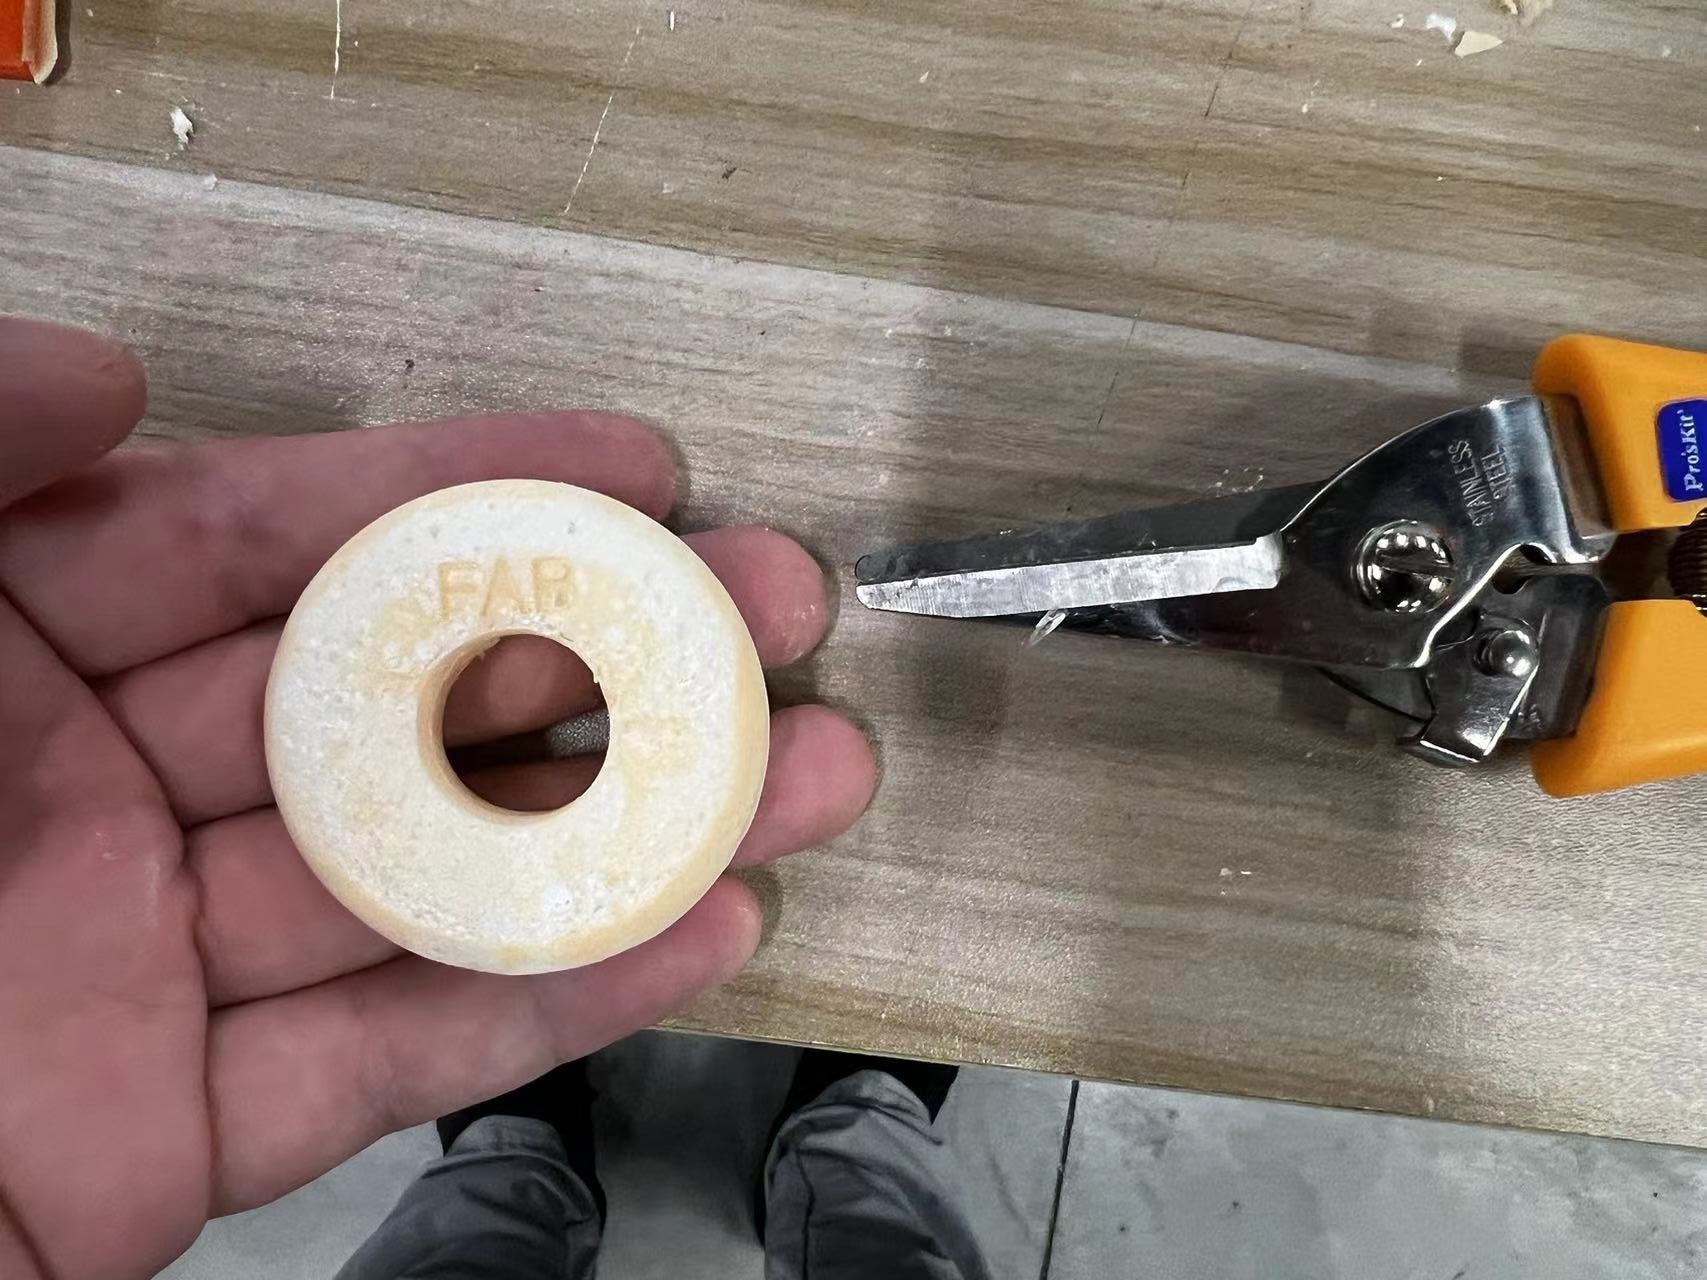
I used scissors to trim off the excess material around the injection point and sanded it down.
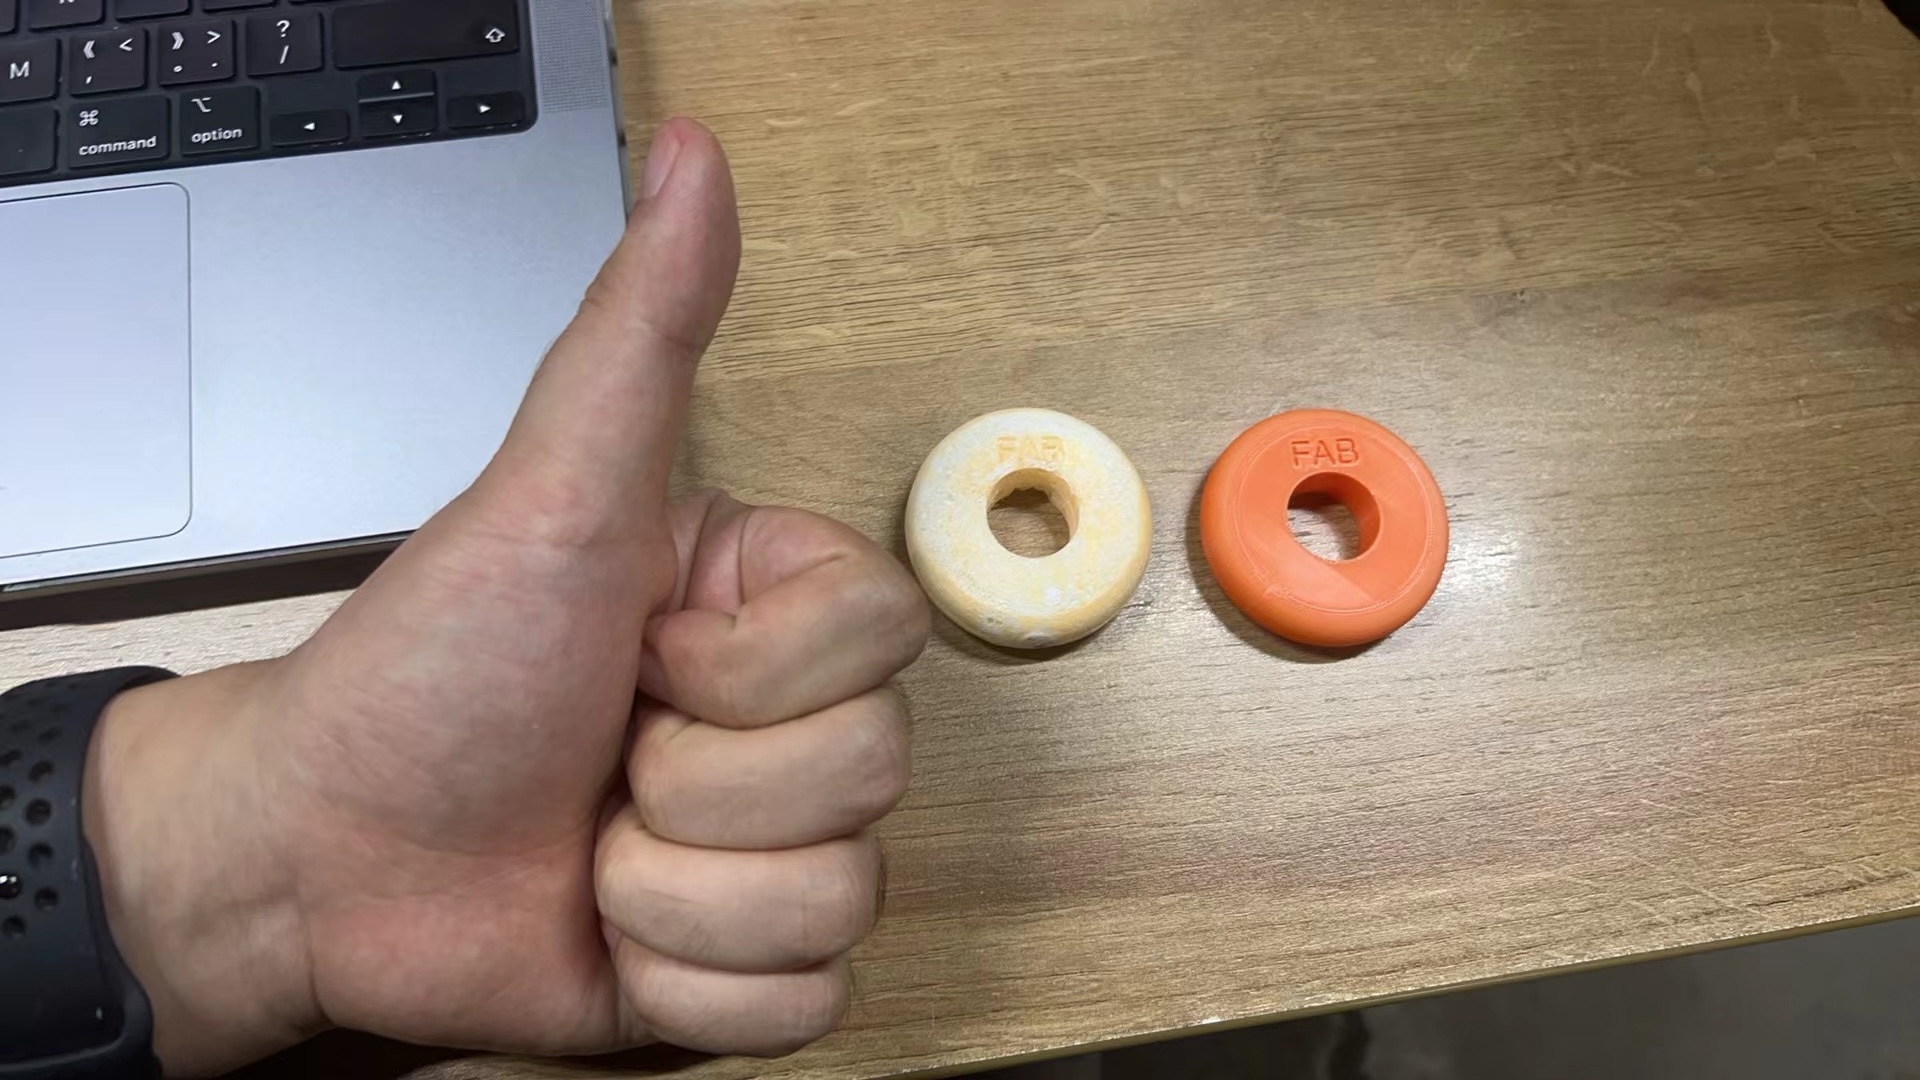
I achieved the final desired effect.

Hero Shots
Mold Wheel and 3d printed
Team Assignment
Group Assignment link.
In the group assignment, I was tasked with using CNC machining to create more precise molds from wax blocks.
During this process, I learned about the characteristics of machining wax blocks:
Wax block molds are used in casting processes, particularly for precision casting, also known as investment casting.
This method can produce metal parts with complex shapes and precise dimensions.
Here are some key features of wax block molds:
- High Precision and Complexity: Wax casting can create parts with complex shapes and rich details, making it especially suitable for the aerospace, jewelry, and art sectors.
- High Surface Smoothness: Because the surface of the wax mold is very smooth, the final cast pieces also tend to have a relatively smooth surface, reducing the need for subsequent processing.
- Wide Range of Materials: Wax block molds are suitable for various casting metals, including but not limited to stainless steel, aluminum alloys, and precious metals.
- Relatively High Cost: The equipment and mold costs for lost wax casting are high, and the process is complex, thus it is mainly used for small batch production or parts that require extreme precision.
- Good Reproducibility: Despite the significant initial investment, lost wax casting can achieve highly standardized production, suitable for large-scale manufacturing.
Lost wax casting is an ancient and sophisticated casting technique, allowing manufacturers to produce metal parts of nearly any complex shape, well-suited to modern industrial needs.
Assignment files
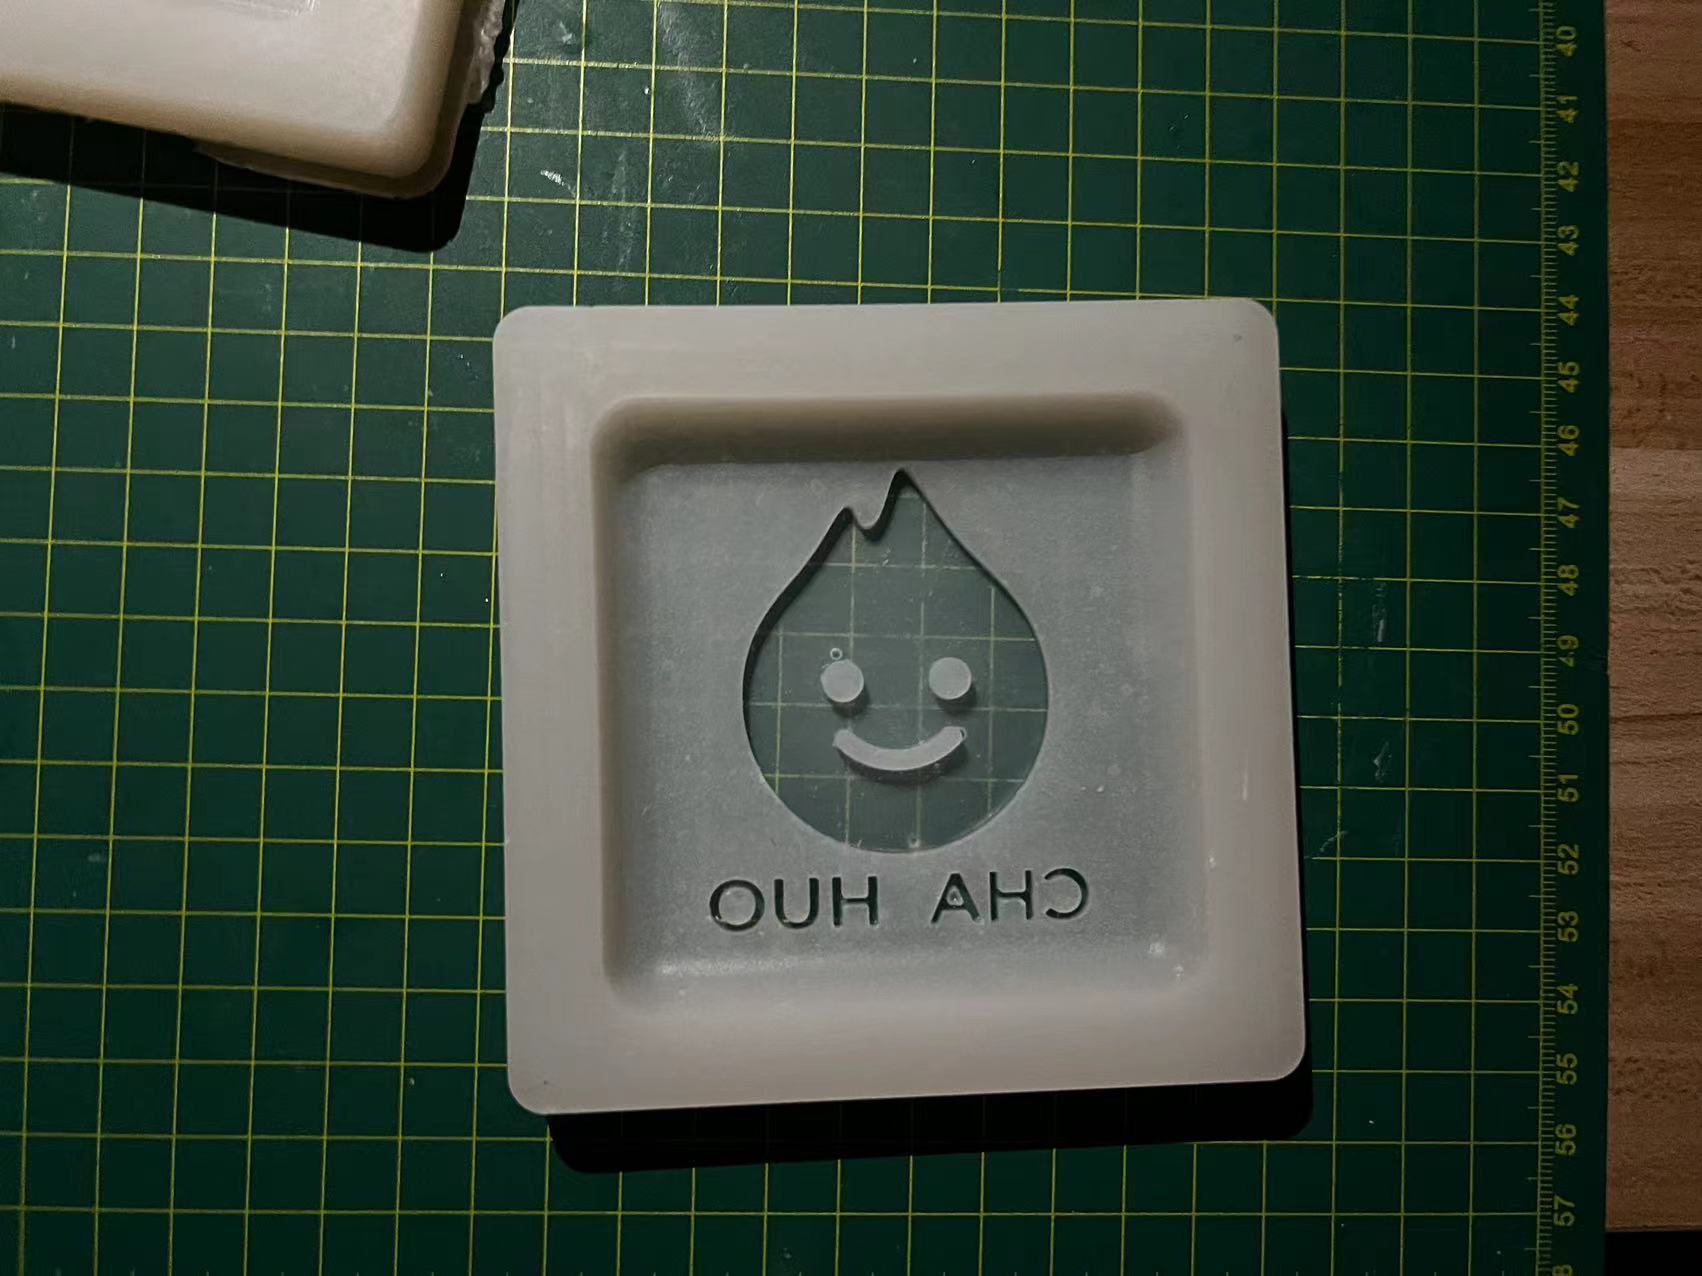
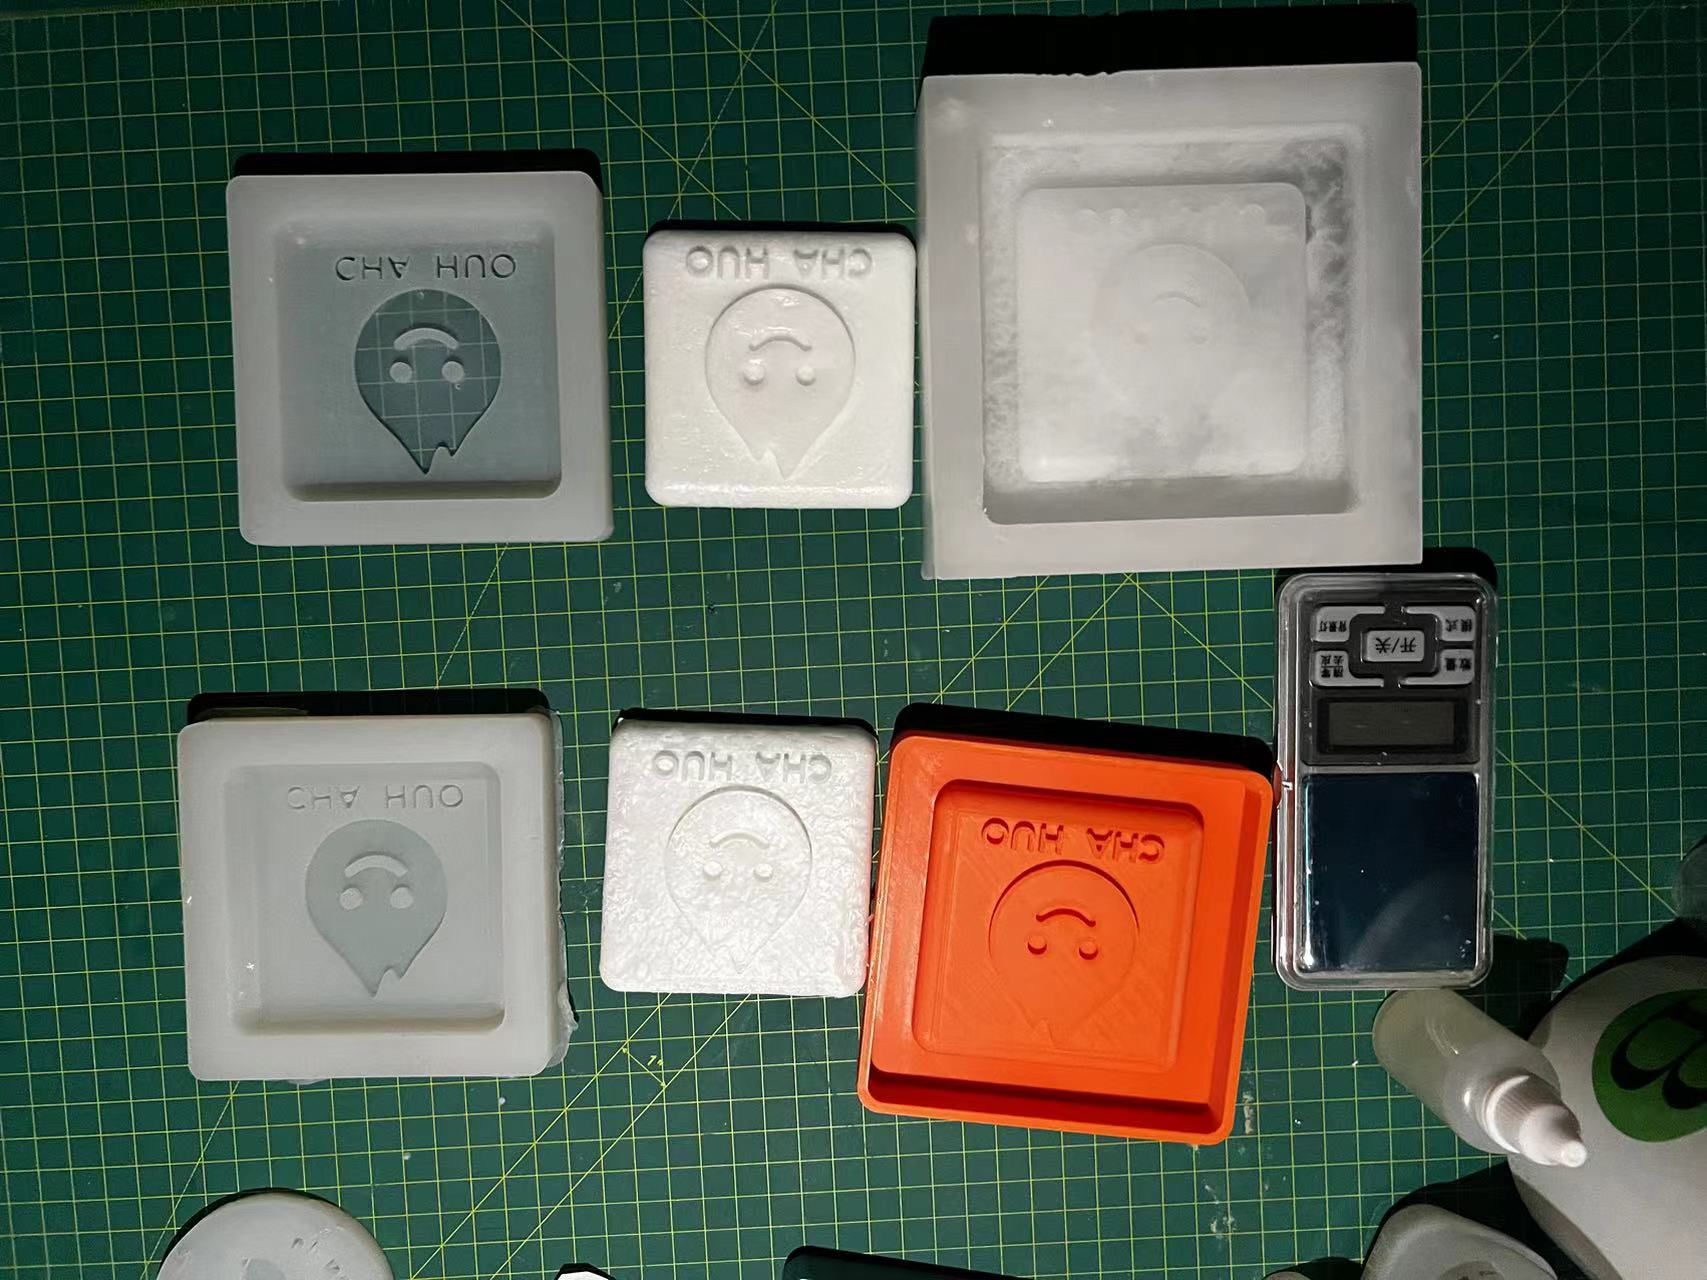
In our team project, we used two different mold materials, each corresponding to different processing methods:
- Wax Mold: We used CNC to create wax molds, resulting in high precision. The silicone molds made from these wax molds produced very smooth surfaces on the final products.
- 3D Printed PLA Mold: The quality and precision of the surface from this mold were somewhat inferior compared to the CNC wax mold, but we still successfully completed them.
Let's Jump to the Top !!!